Author: katehartman

  • Bootmaking Intensive – Day 5

    Today the boots became boots! The morning started with buffing the parts we dyed last night to make them nice and shiny. Then it was a lot of sanding, gluing, and assembly. It’s amazing how much work it takes to get the shape of the heel to perfectly match the shape of the sole. Once all the pieces were put together it was time to take it off the last – the moment of truth!

    The fantastic news is that these boots actually fit. They’re a little tough to get on without a shoe horn and my heels slide up a bit when I walk, but overall they came out way better than I ever expected. It has gotten me excited about learning how to make other kinds of shoes!

  • Bootmaking Intensive – Day 4

    Today was all about soles and heels. First patterns were made for both and then it was all about cutting, glueing and sanding. I decided on a leather sole with some inlayed rubber and leather stacked with a rubber cap. The combo embraces the loveliness of leather while being tough enough to withstand Toronto winters!

  • Bootmaking Intensive – Day 3

    Day 3 = awesome! Today was about assembling, sewing, and lasting. The most nerve wracking moment was sewing the stitch around the ankle. I chose a contrasting color (neon pink!) so there wasn’t a lot of room for error. But both came out straight! The most bewildering moment was lasting the upper. When yanking on the veg tan it seemed impossible that it would reassemble itself into a reasonable shape, but with some help from Becca and Keiko it did. Now both look very much boot-shaped. Next up – soles and heels!

  • Bootmaking Intensive – Day 2

    Day two! Today started with meeting Becca at Global Leather where I purchase a hide for my uppers. It is a black sheep veg tan which I’m quite excited about. The pattern pieces were cut and then the vamps were soaked, stretched, and left to dry overnight. Also the edges of the backs were skived (thinned out) in preparation for tomorrow’s assembly. The skiving machine is one of my new favorite things!

    The linings were also cut from a soft black pigskin. The seams were joined first with rubber cement and then sewn. Tomorrow they’ll be joined to the uppers!

  • Bootmaking Intensive – Day 1

    I’m taking a 5-day Bootmaking Intensive course at Brooklyn Shoespace with Rebecca Heykes. After a lot of thought about integrating some electronics I’ve realized that for my first go I just need to learn how to make shoes! I’ve decided to make a basic Chelsea boot – something that I will definitely wear. Today was spent pattern making as well as creating insoles. Here are some snippets…


  • Hilbert Hat Variations

    While at ITP as a Something-in-Residence I have the opportunity to sit in on some classes. One that I’m checking out is Intro to Fabrication with Ben Light. This week’s assignment was to make multiples of something, 5 or more.  The objects must be a multi-process piece, ie. not 5 things made solely on the laser cutter or 3D printer.

    I decided to work off an existing project – a set of hats that I’ve been making on the side for the last 3 or 4 years. I usually call them “Pink Hats” or “Flat Hats”. The design parameters are as follows:

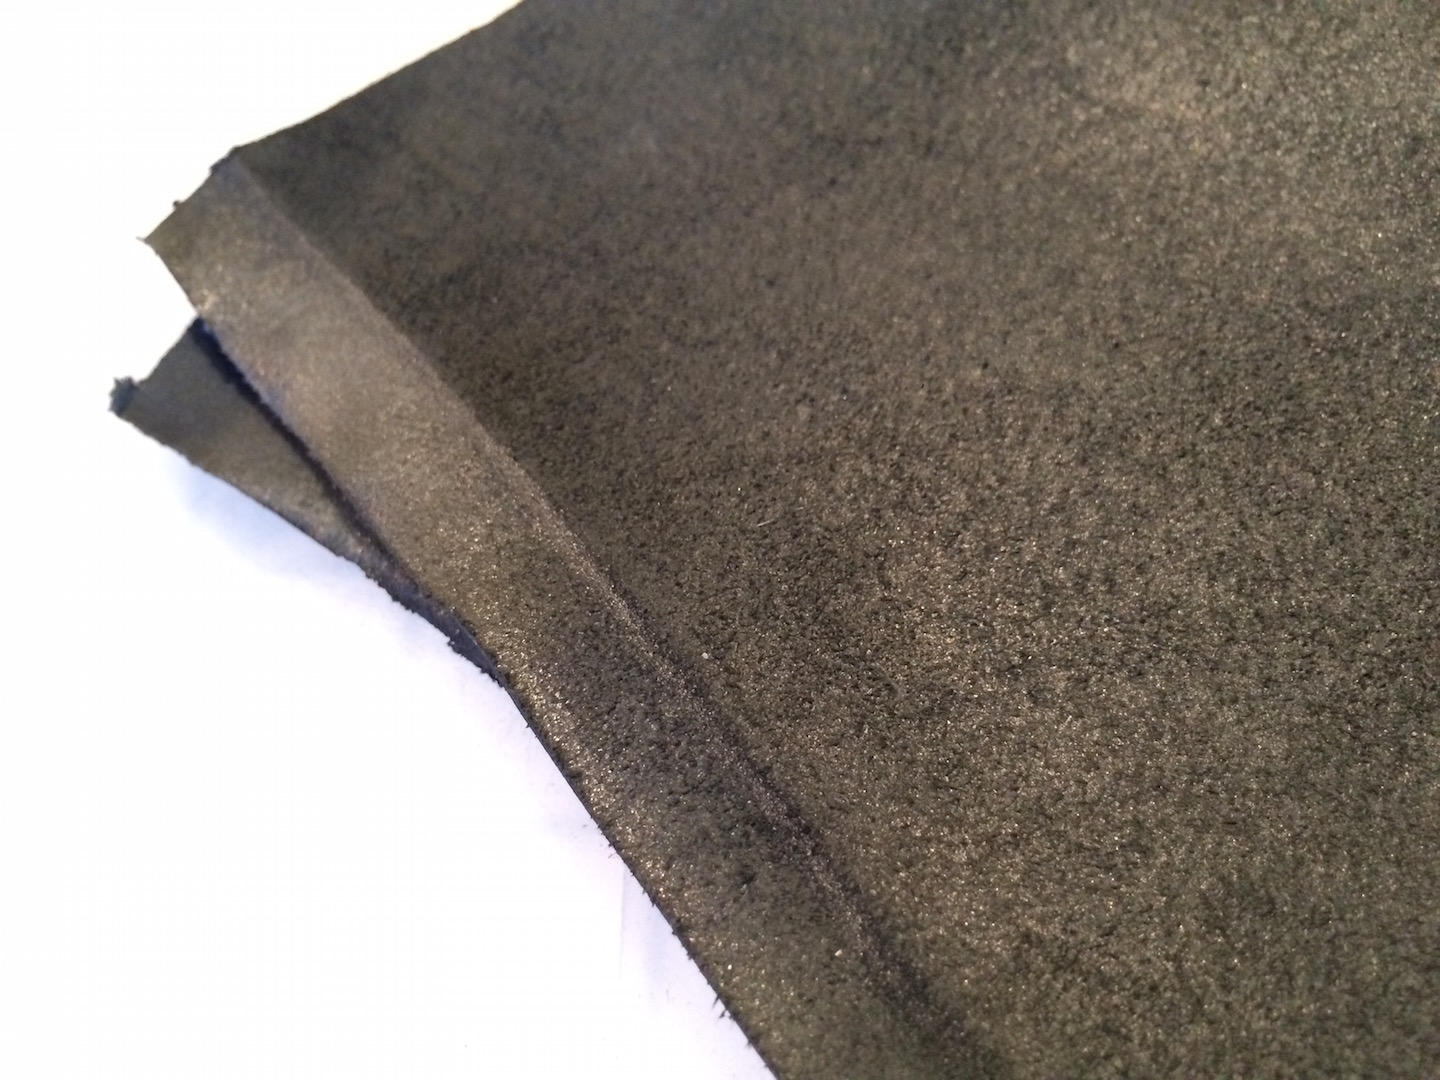
    • They are all constructed from pink acrylic felt, cotton thread, and armature wire.
    • The felt piece is 24″ x 18″.
    • No material is wasted. The hat uses the complete sheet of felt.
    • The resulting hat can be completely flattened for flat packing, but it can also be styled and bent so that it pops out into 3D.

    There are no electronics in these hats but they are about interaction. My favorite scenario is to put them on two people in a space with no mirrors so that they end up helping each other style and sculpt each other’s hat. Here’s what happened when I brought them on stage at a conference in Munich a few years ago: [1] [2]

    Traditionally I’ve designed and cut these by hand but recently I’ve been experimenting with lasercutting the designs.

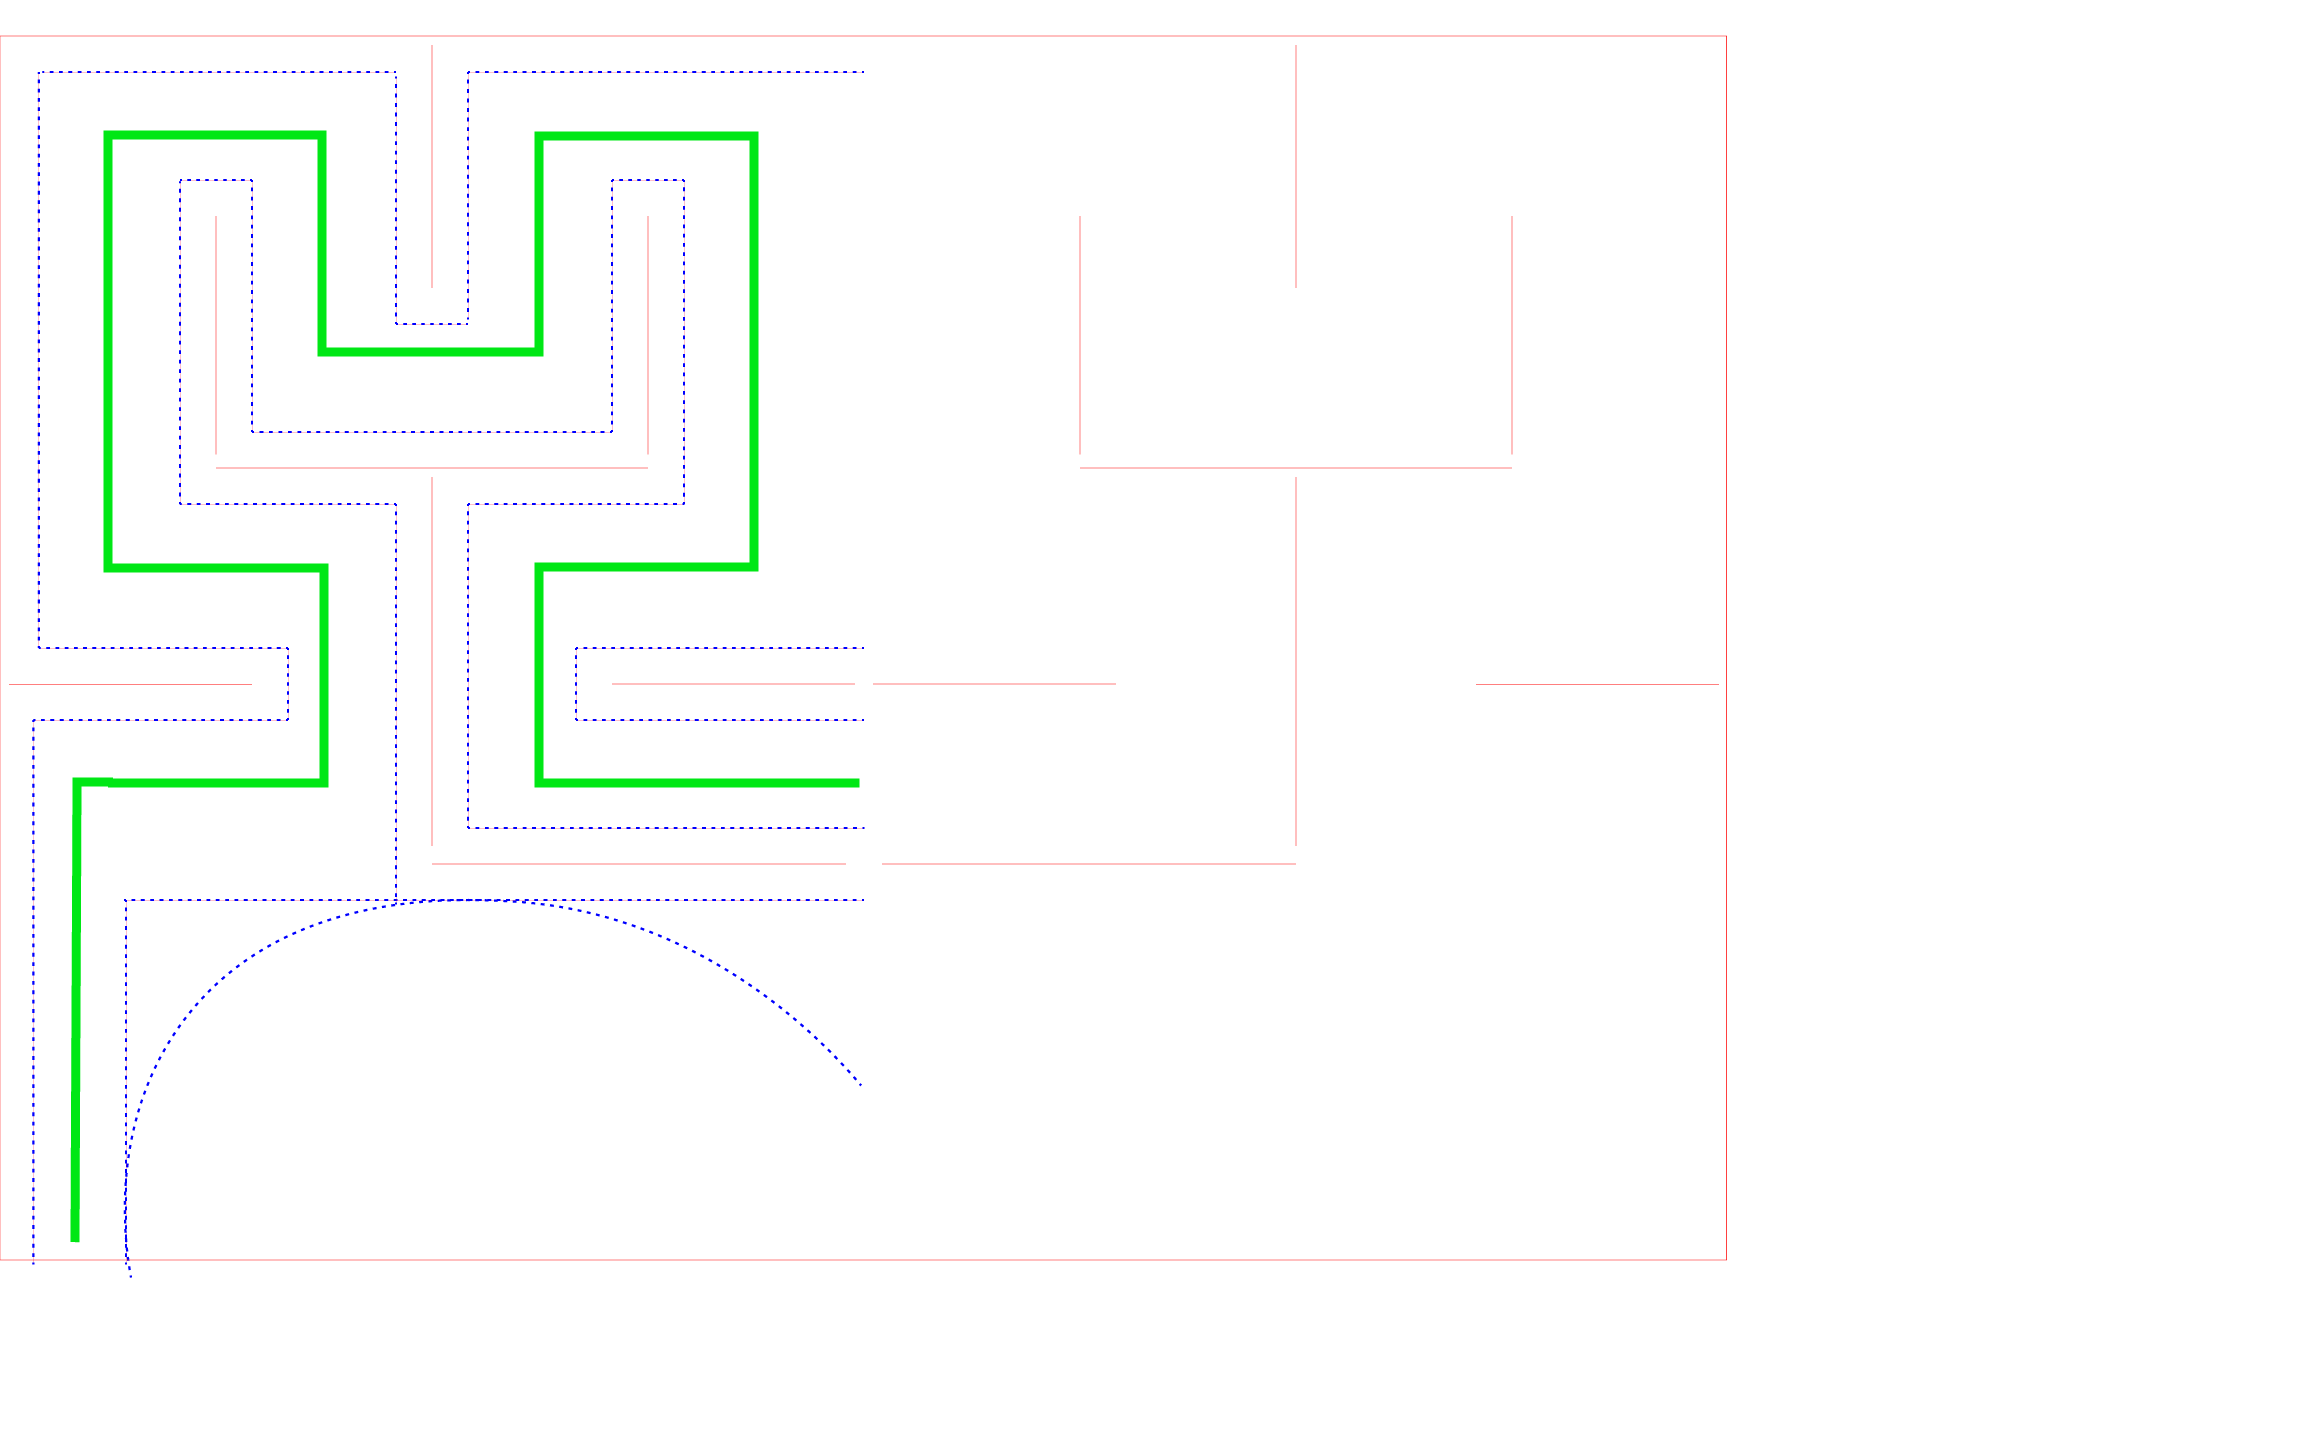
    For this assignment I decided to do a reinterpretation of a hat that I made with Jason Bellenger several years ago. This hat used the idea of a Hilbert curve as a way to make use of all of the material. A Hilbert curve (which was new to me at the time) is a type of space-filling curve. You can see lots of images on Wikipedia.

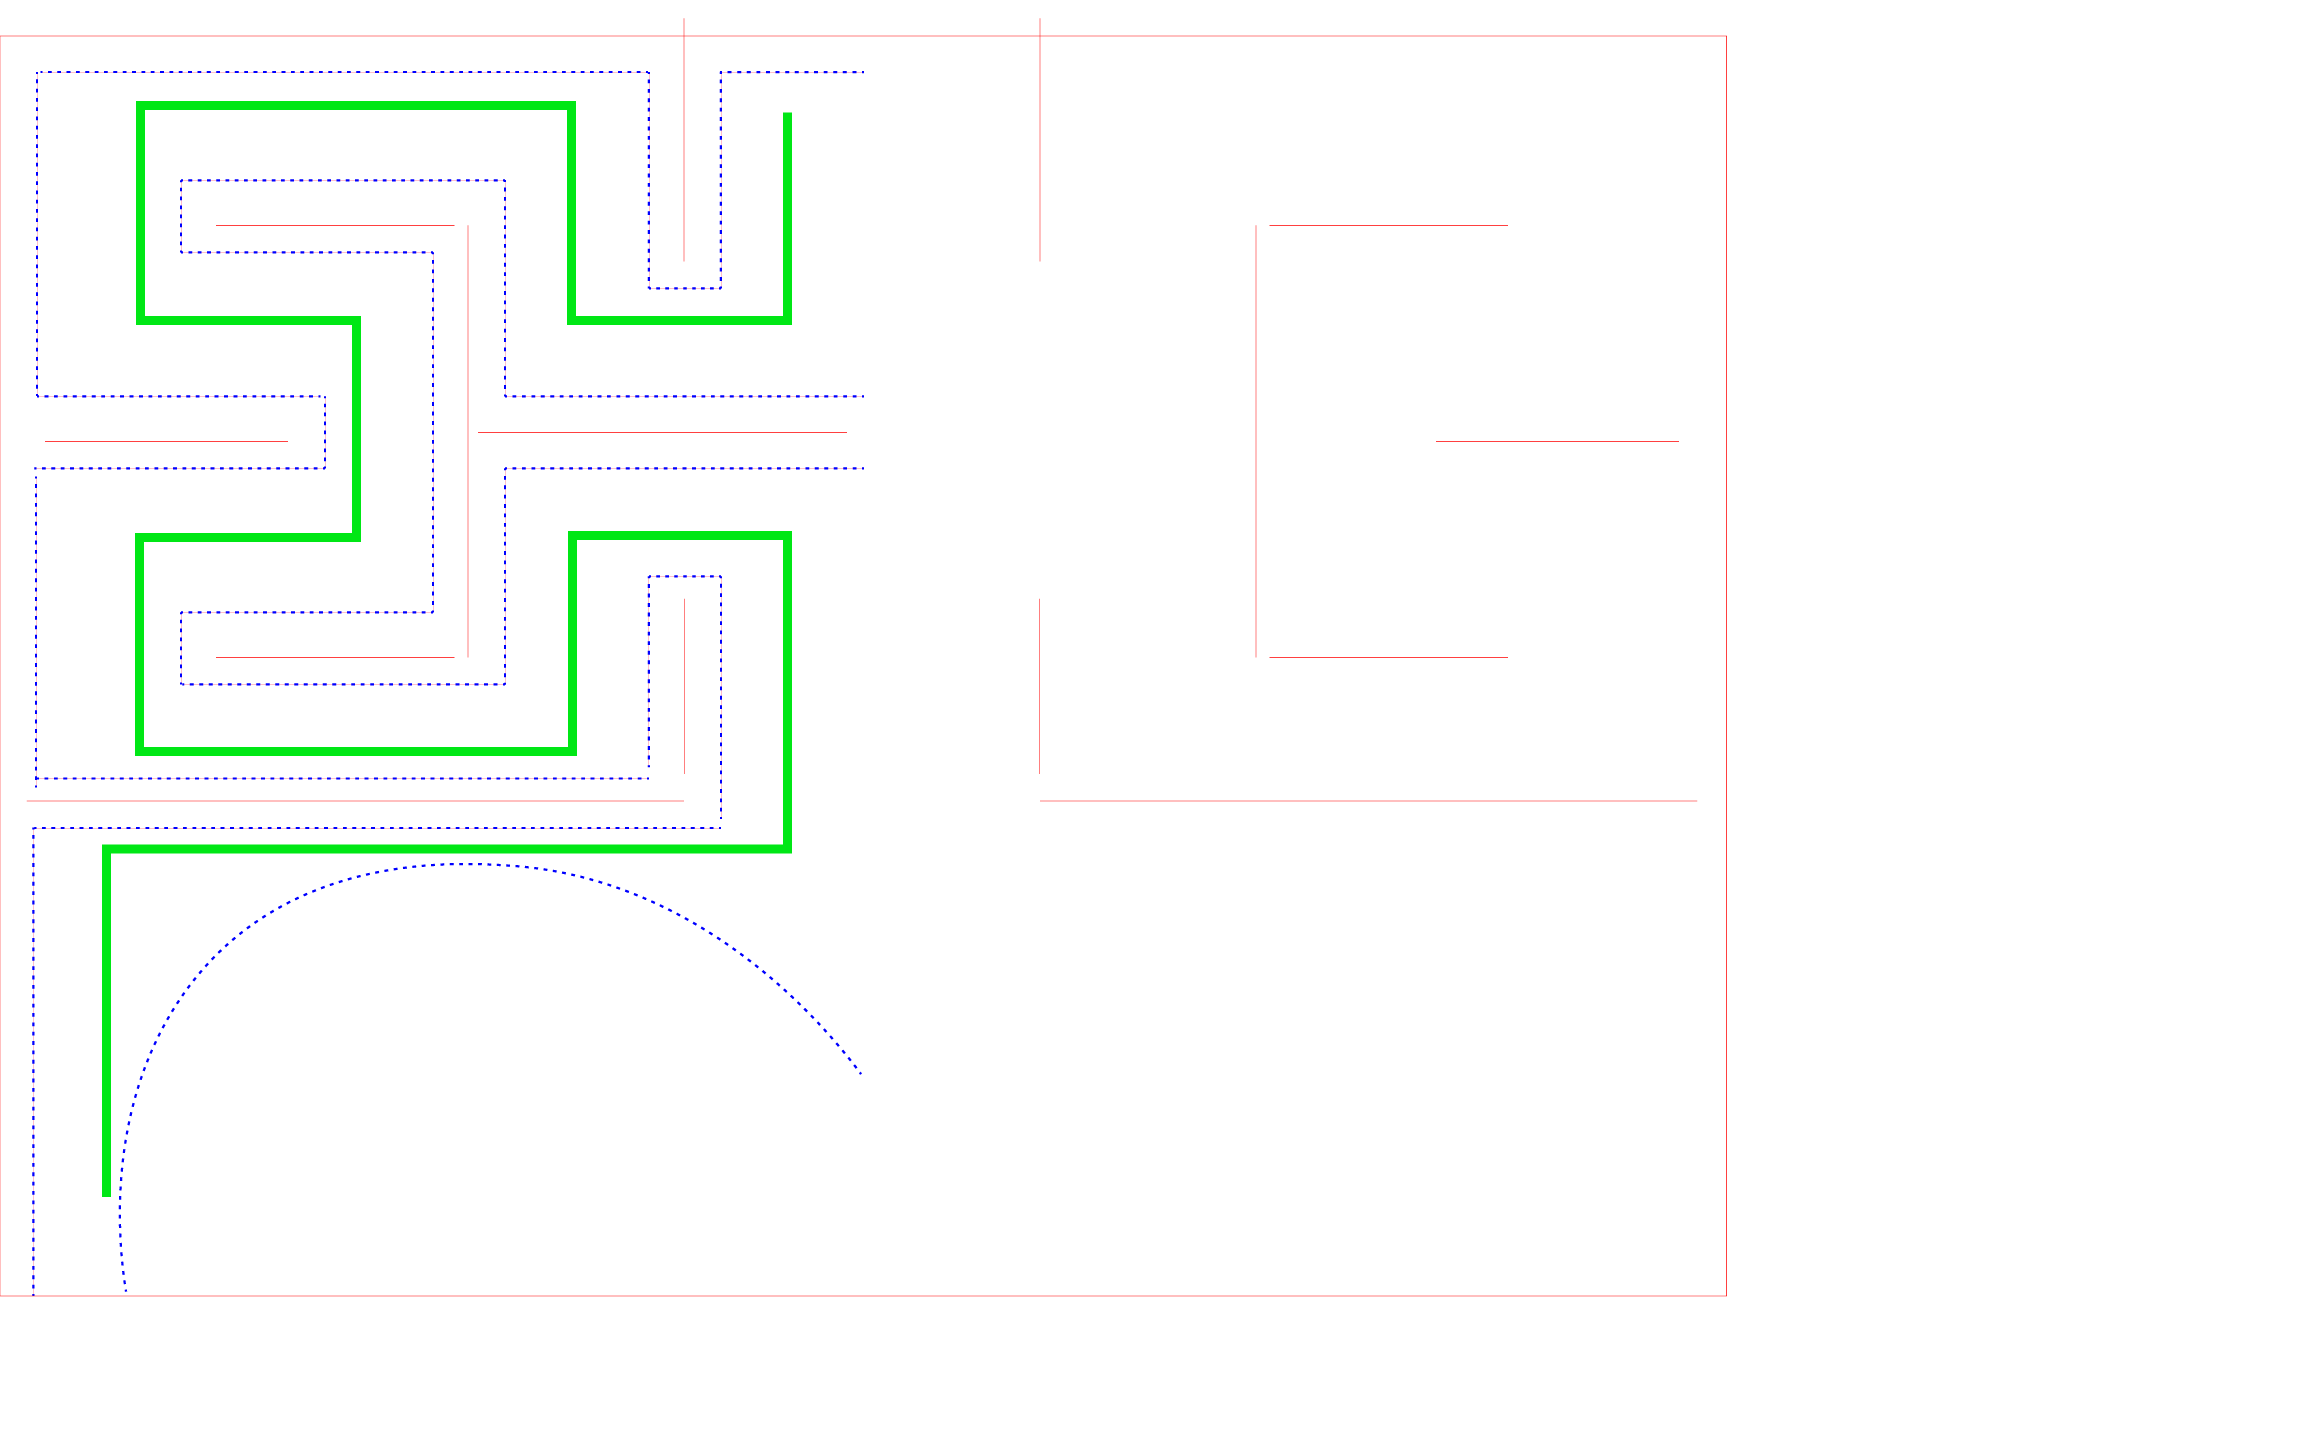
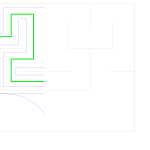
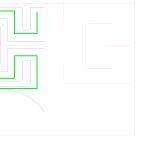
    The original hat was more of an interpretation of the curve rather than the exact curve itself. For this new version I wanted to try to stick as close to the actual curve as possible. Because I wanted it to be a fairly simple shape for quicker prototyping I chose this section of the curve to work with:

    Hilbert_section

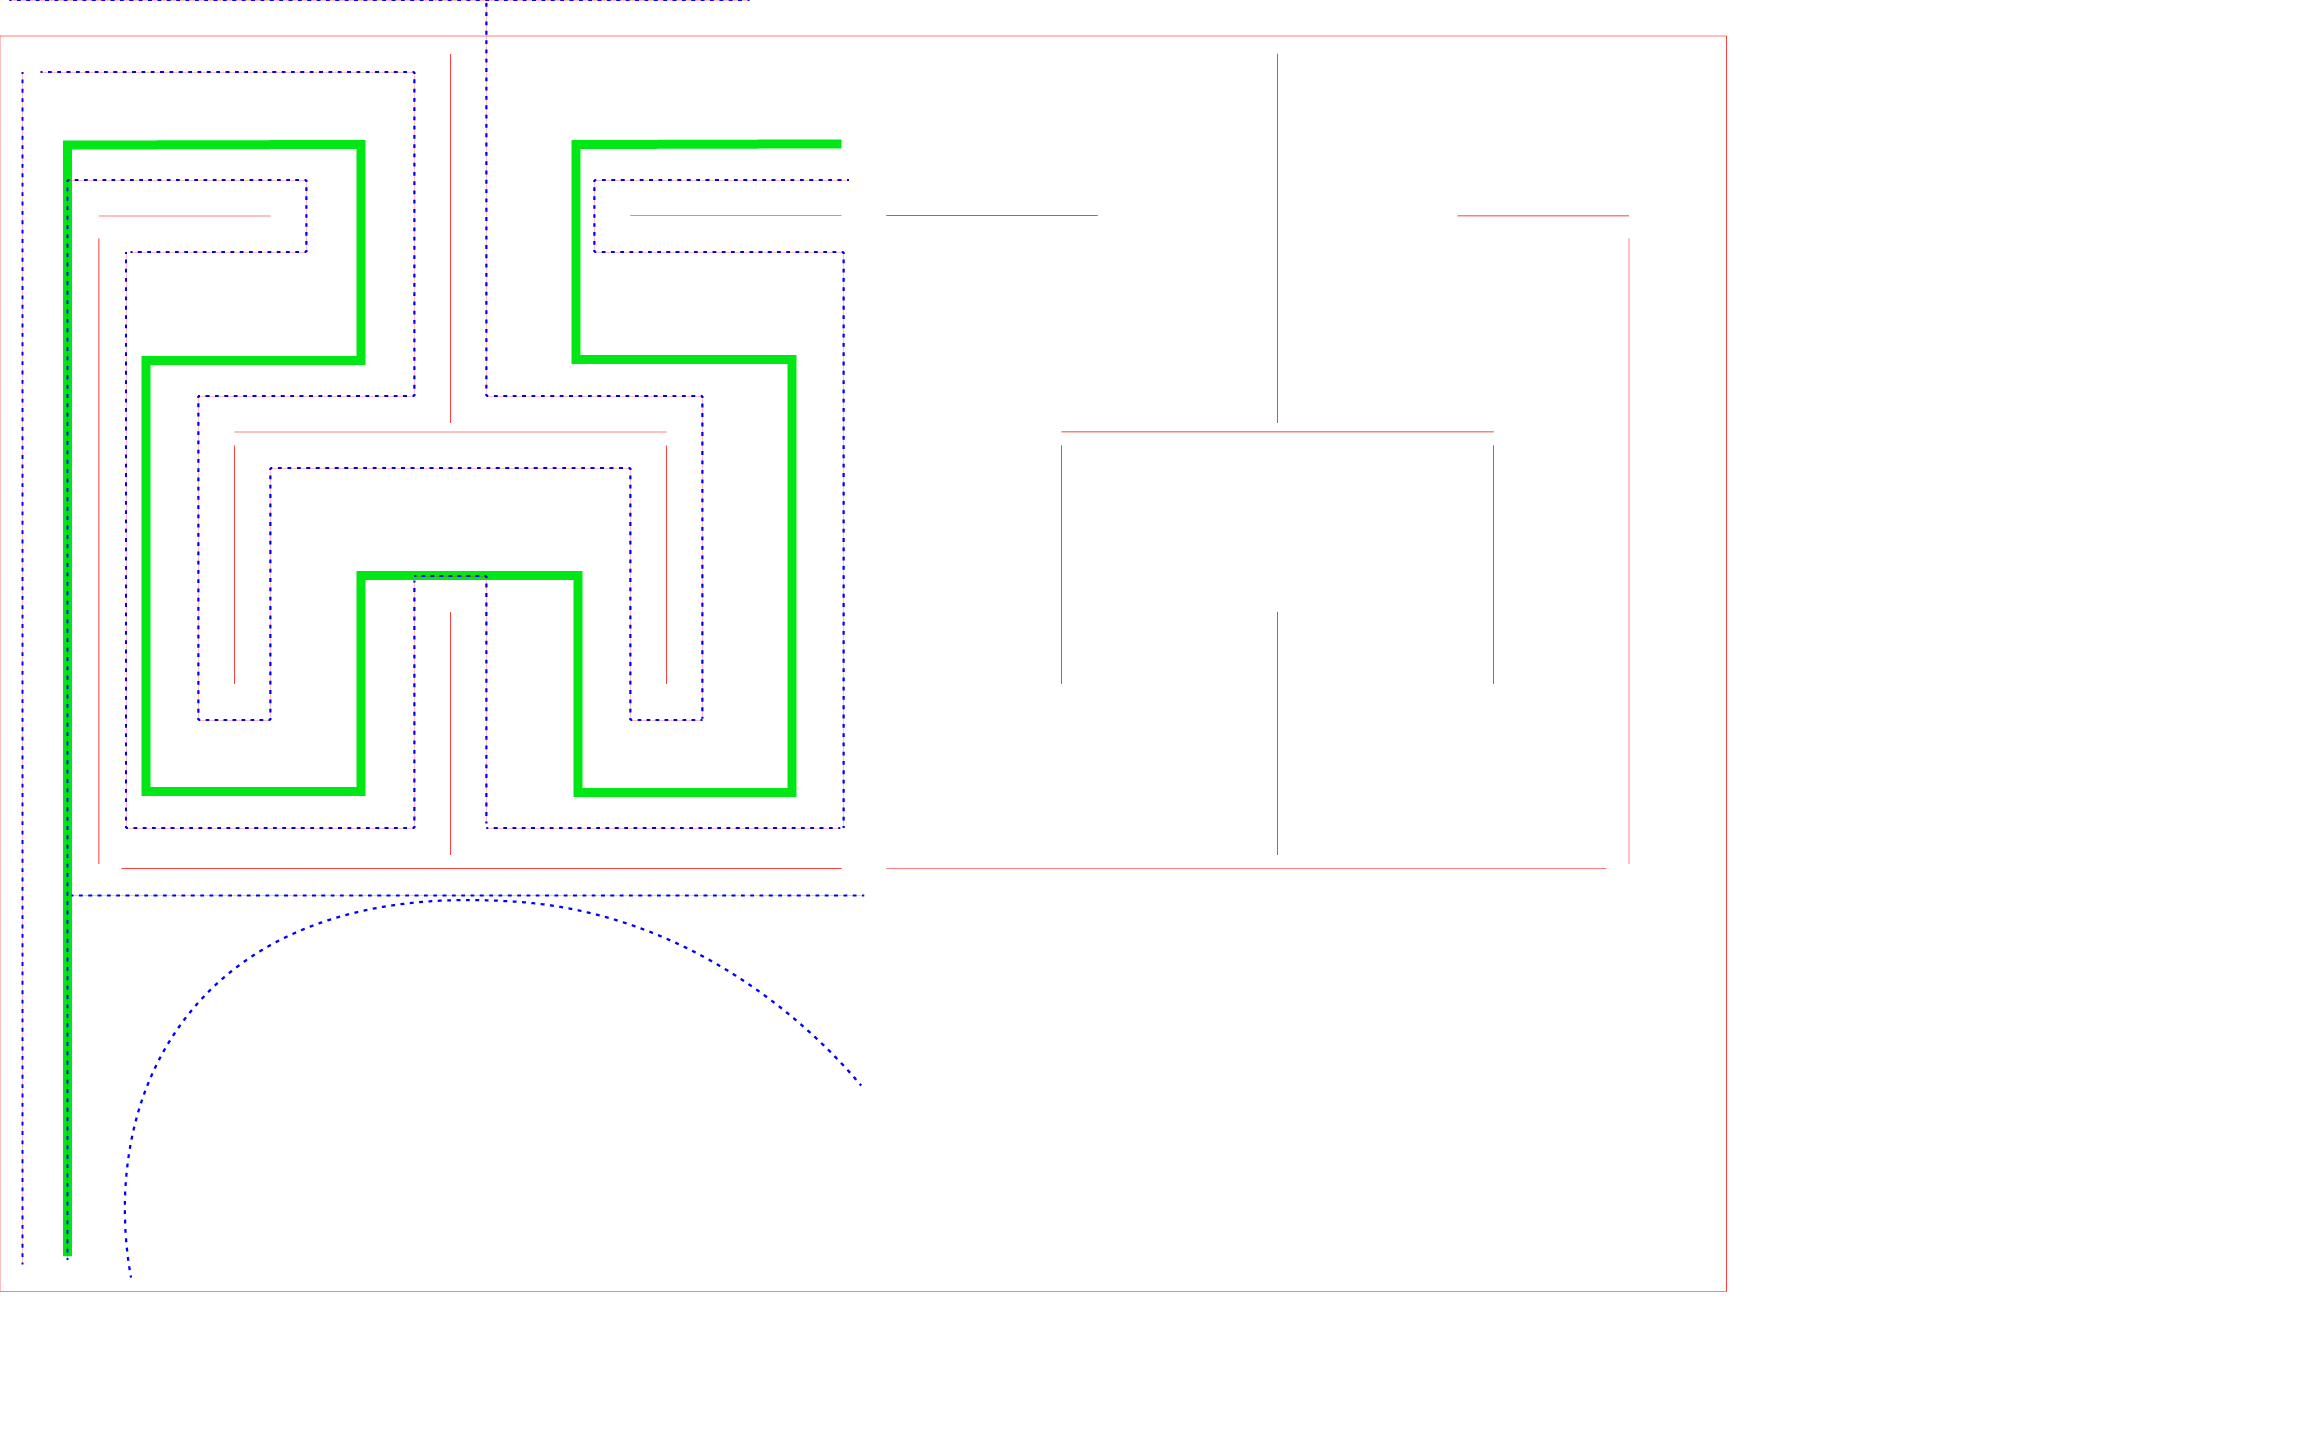
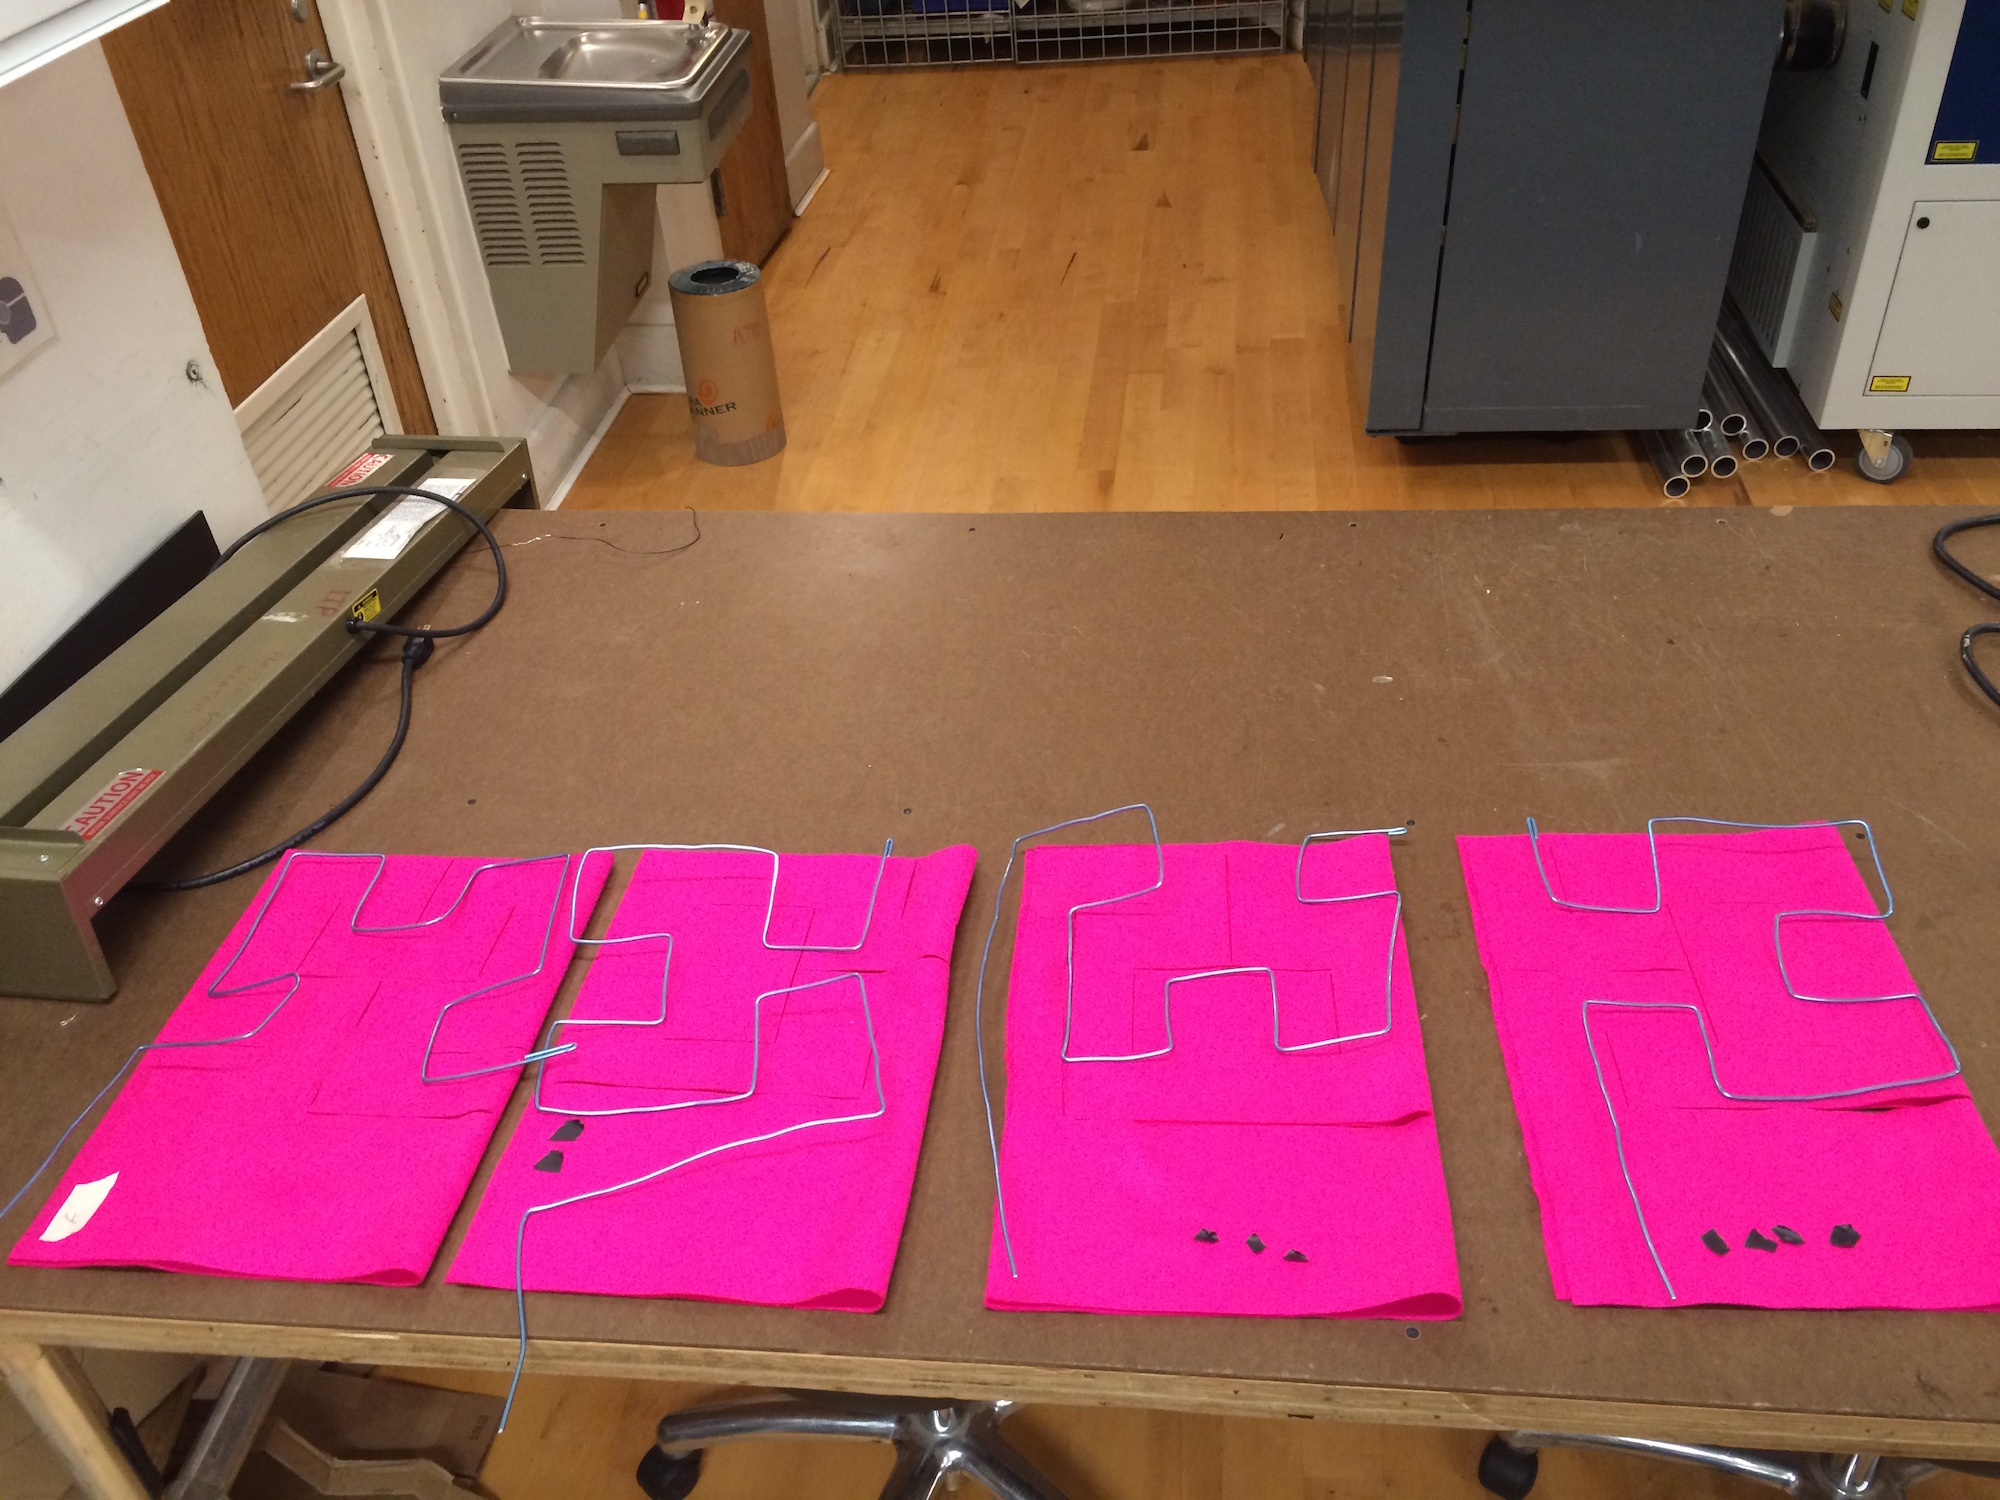
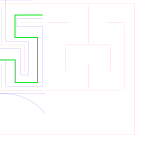
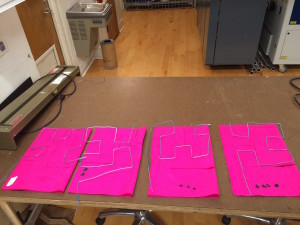
    Rather than producing the same hat 5 times I instead decided to create 4 variations of the same base hat. For this I rotated the Hilbert curve 90 degrees in relation to the with each iteration. Here are the steps I did:

    1. I created the designs. While the Hilbert curve remained pretty much the same some modifications needed to be made so that the curve connected properly to the hat part.

    HilbertHat_Laser_V1.3a_CS6HilbertHat_Laser_V1.3c_CS6HilbertHat_Laser_V1.3b_CS6HilbertHat_Laser_V1.3a_CS6

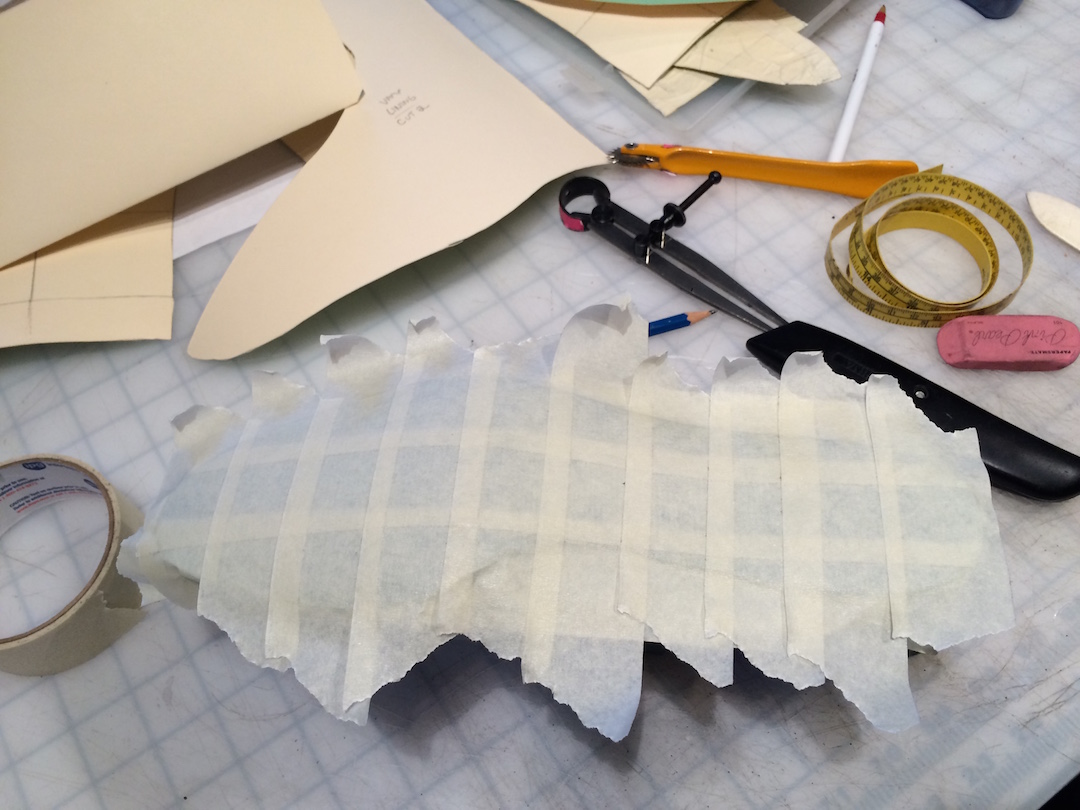
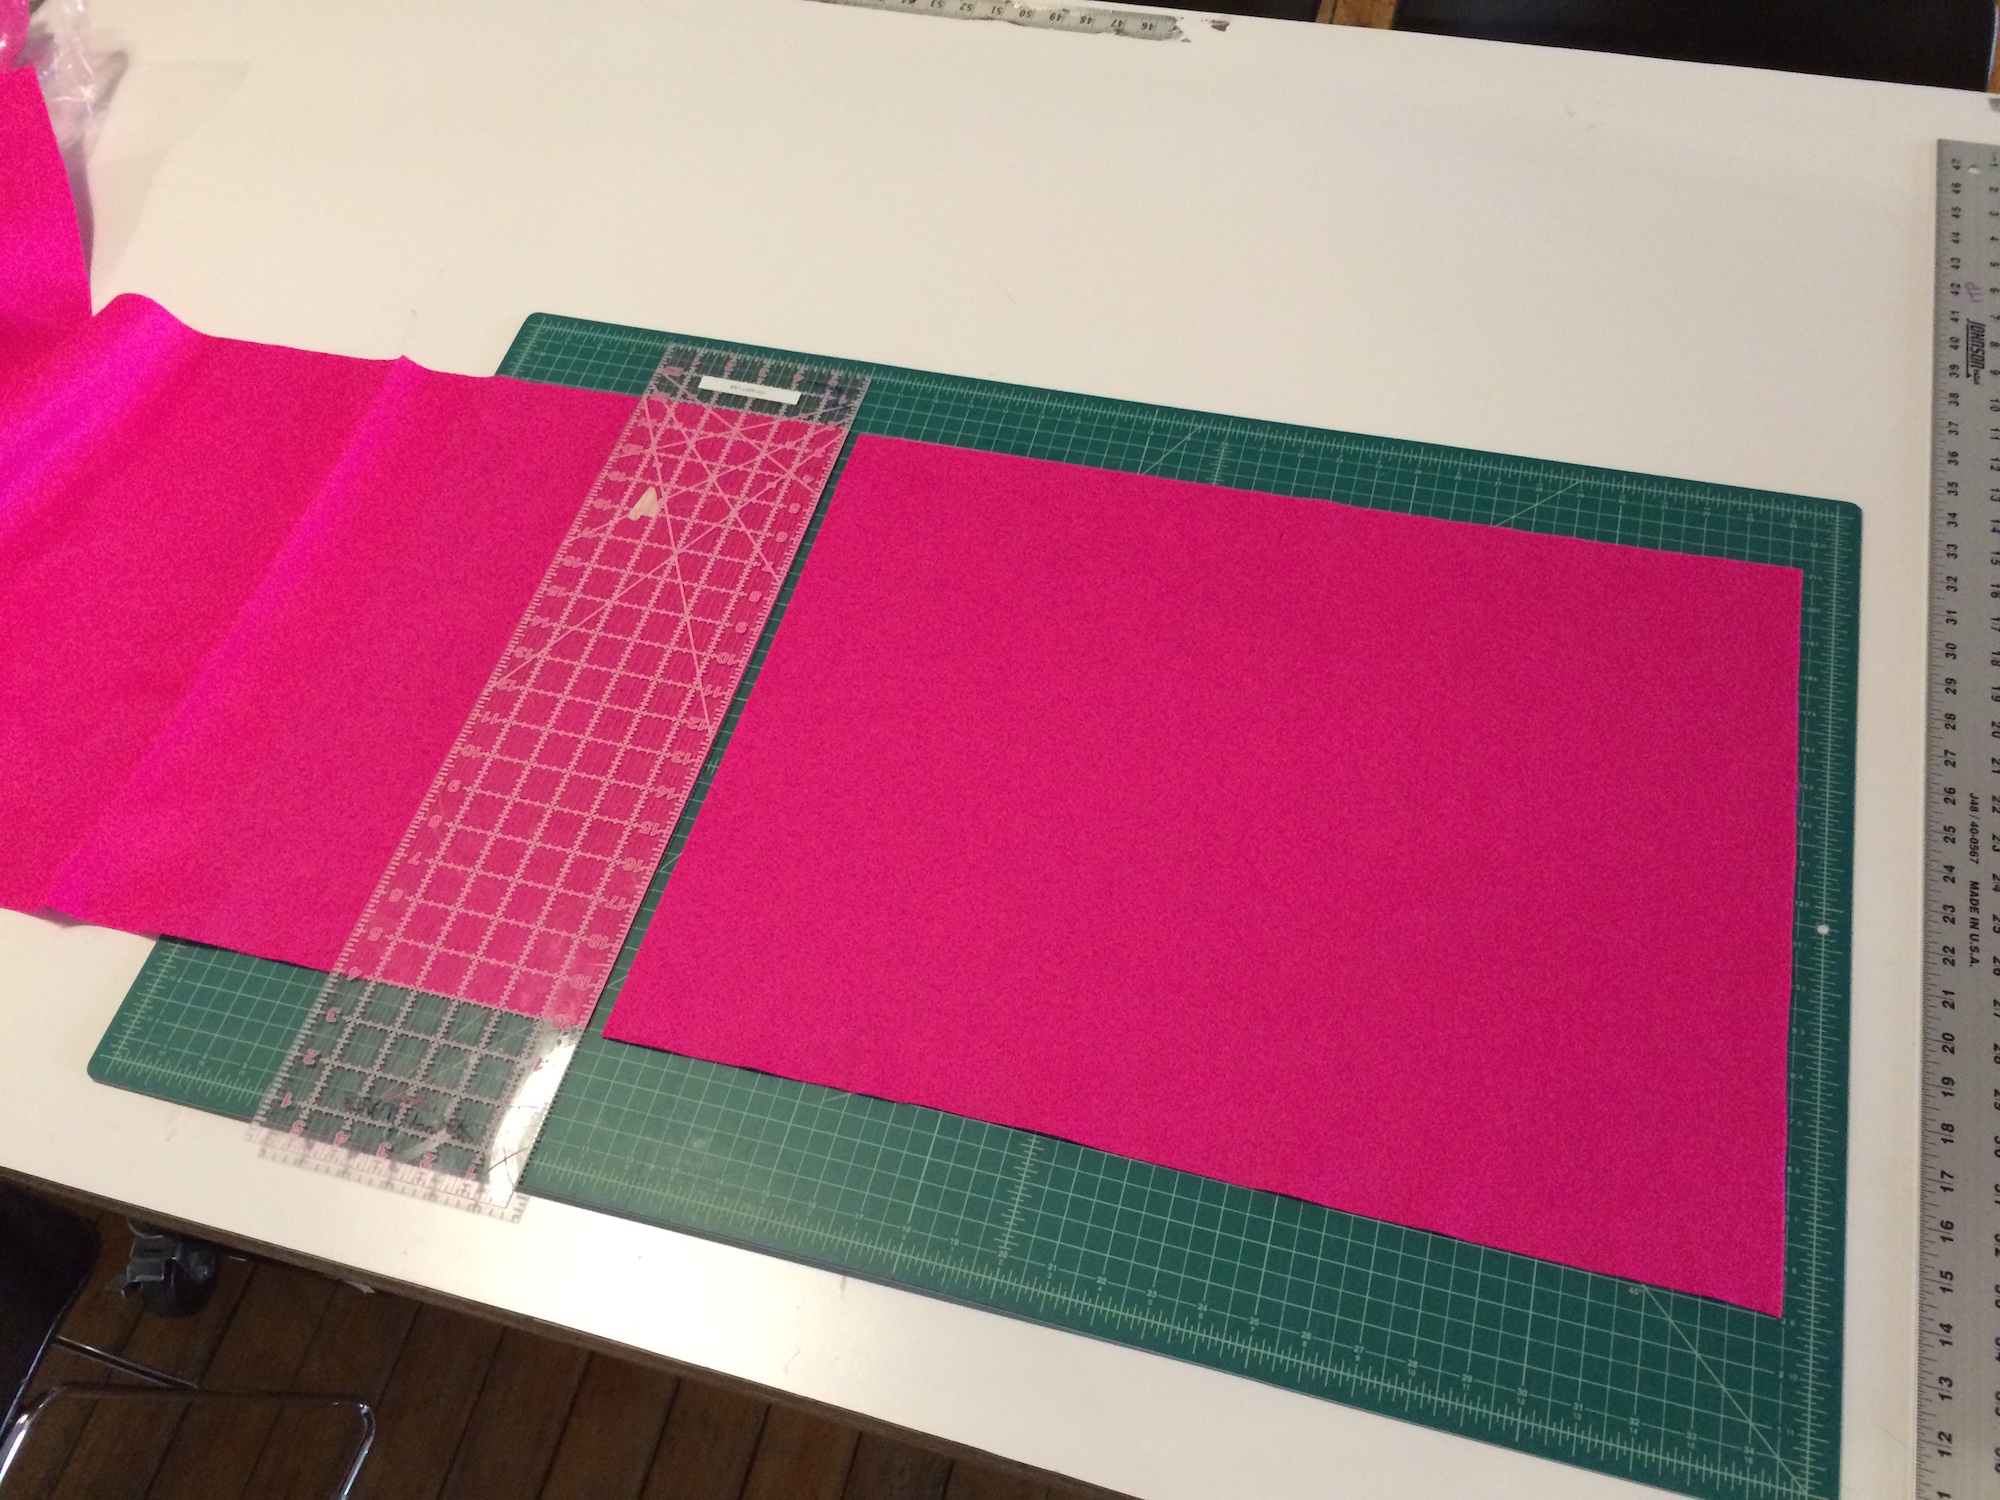
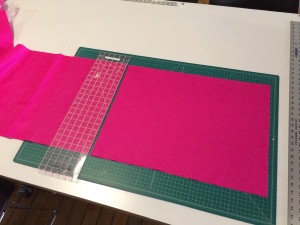
    2. I cut down the felt. The reason I chose the size of 24″ x 18″ is that it is 1/6th of a yard of 72″ wide fabric. Therefore you can get 6 hats out of a yard without wasting any material. The orientation of the pieces is also important as the felt is stretchier in one direction than the other. Tip: rotary cutters are really helpful when cutting down fabric.

    2_cutting

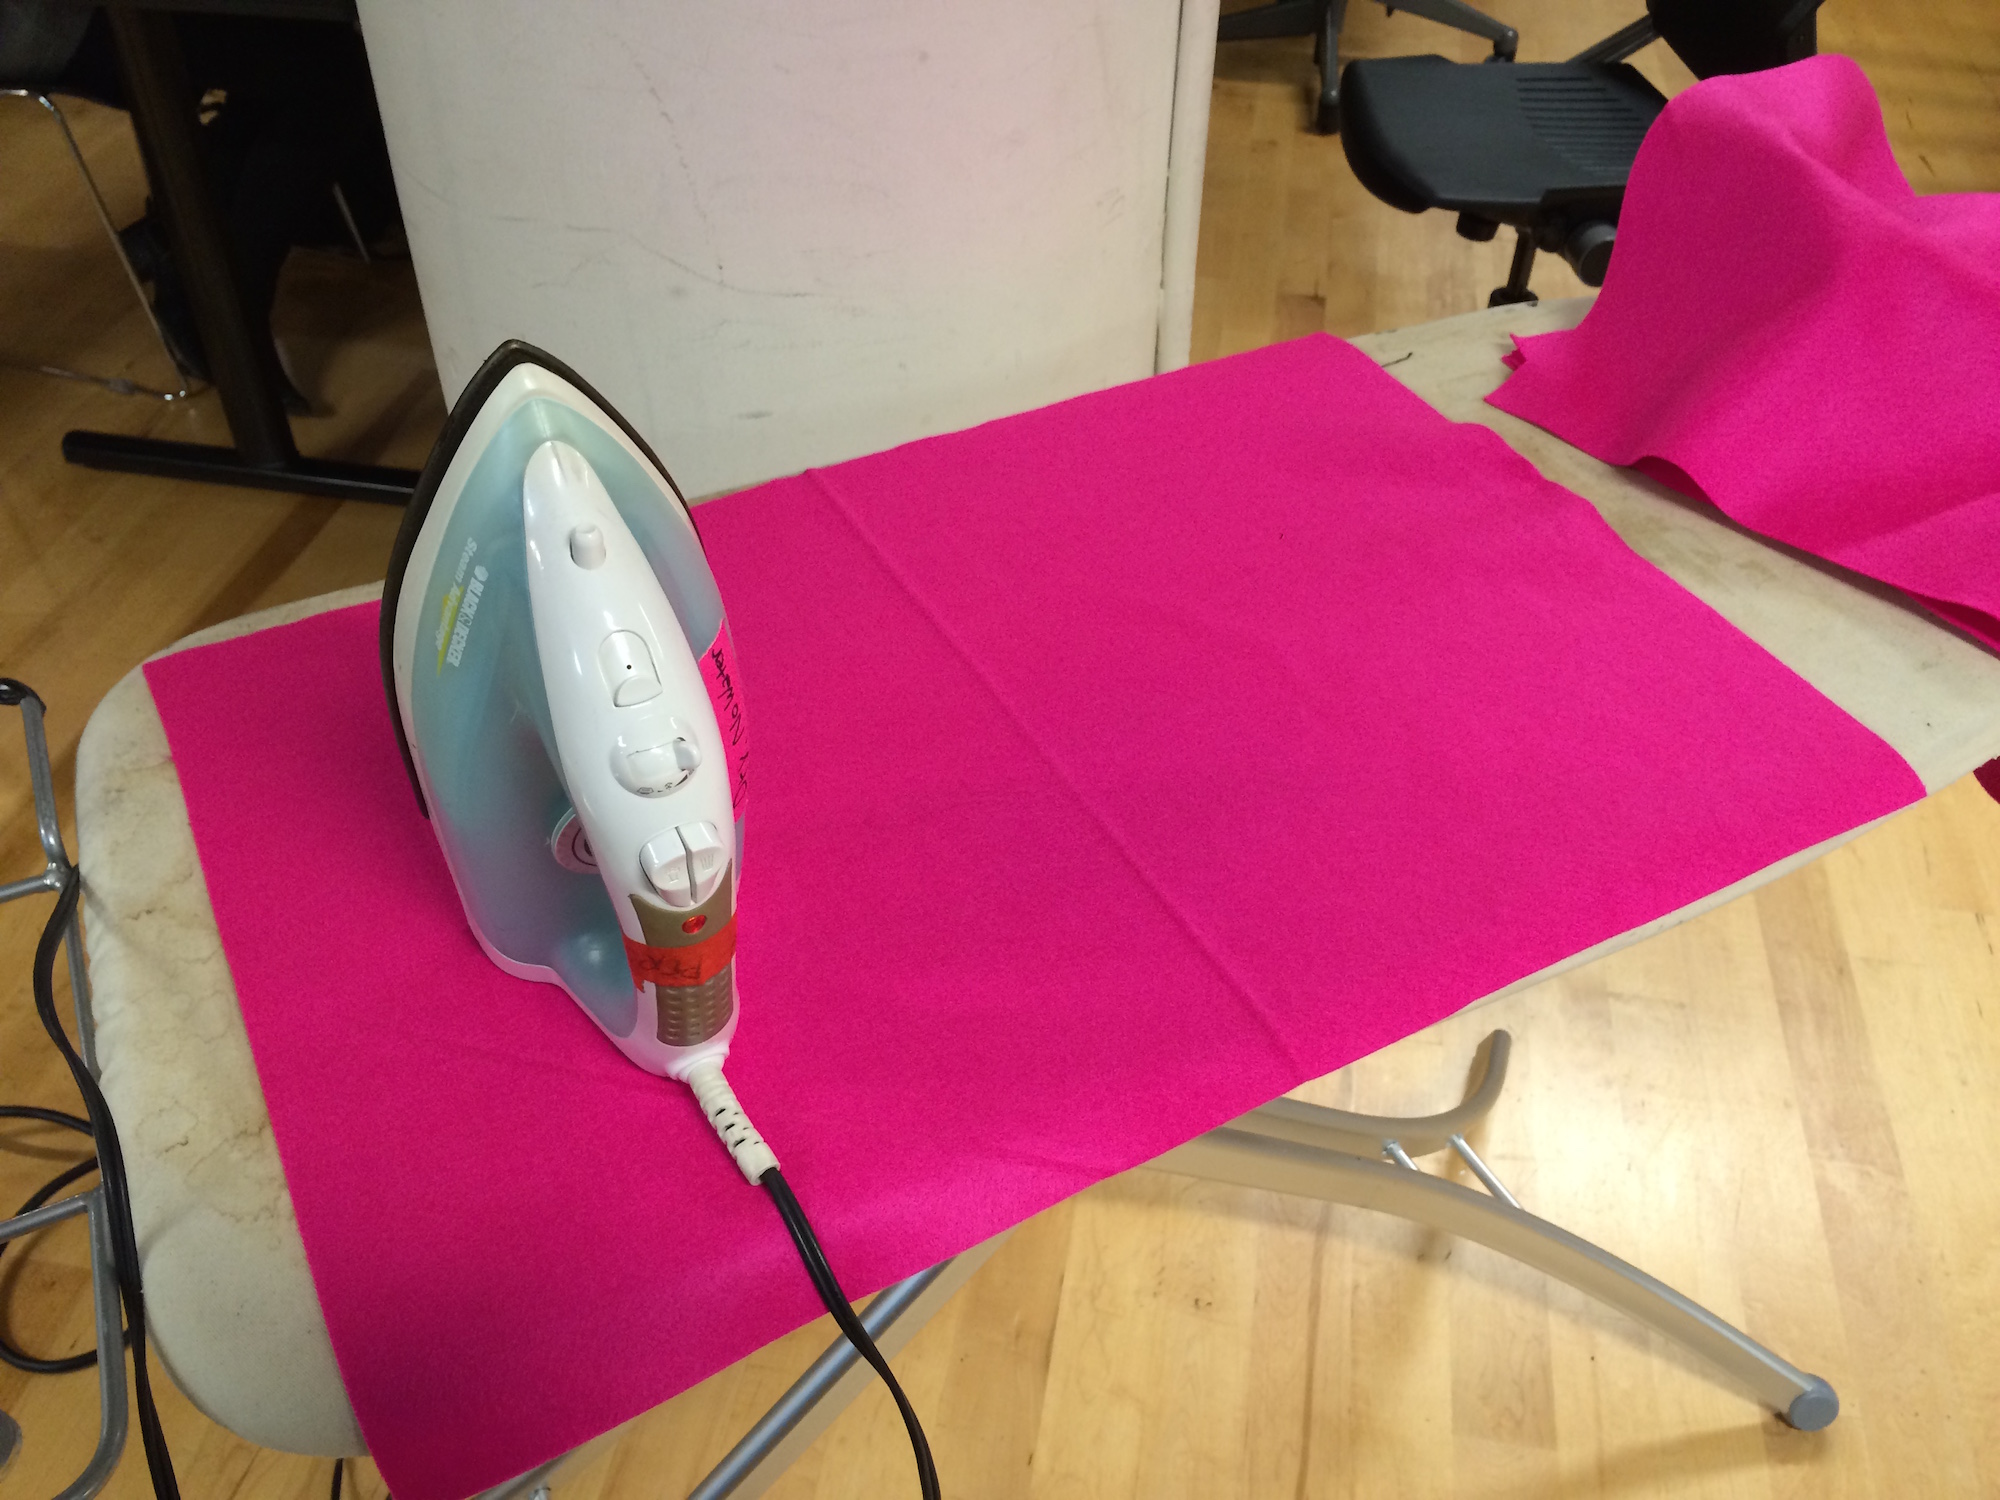
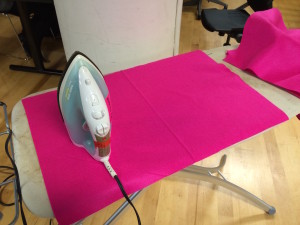
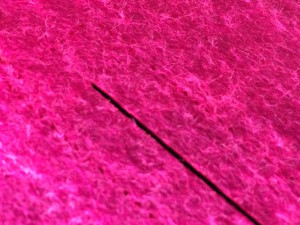
    3. I ironed all of the felt pieces so that they would sit flat in the laser cutter. Some of the pieces go across the fold of the bolt so they start out with an ugly crease down the middle that would definitely mess up your design if you let the laser cut across it.

    3_ironing

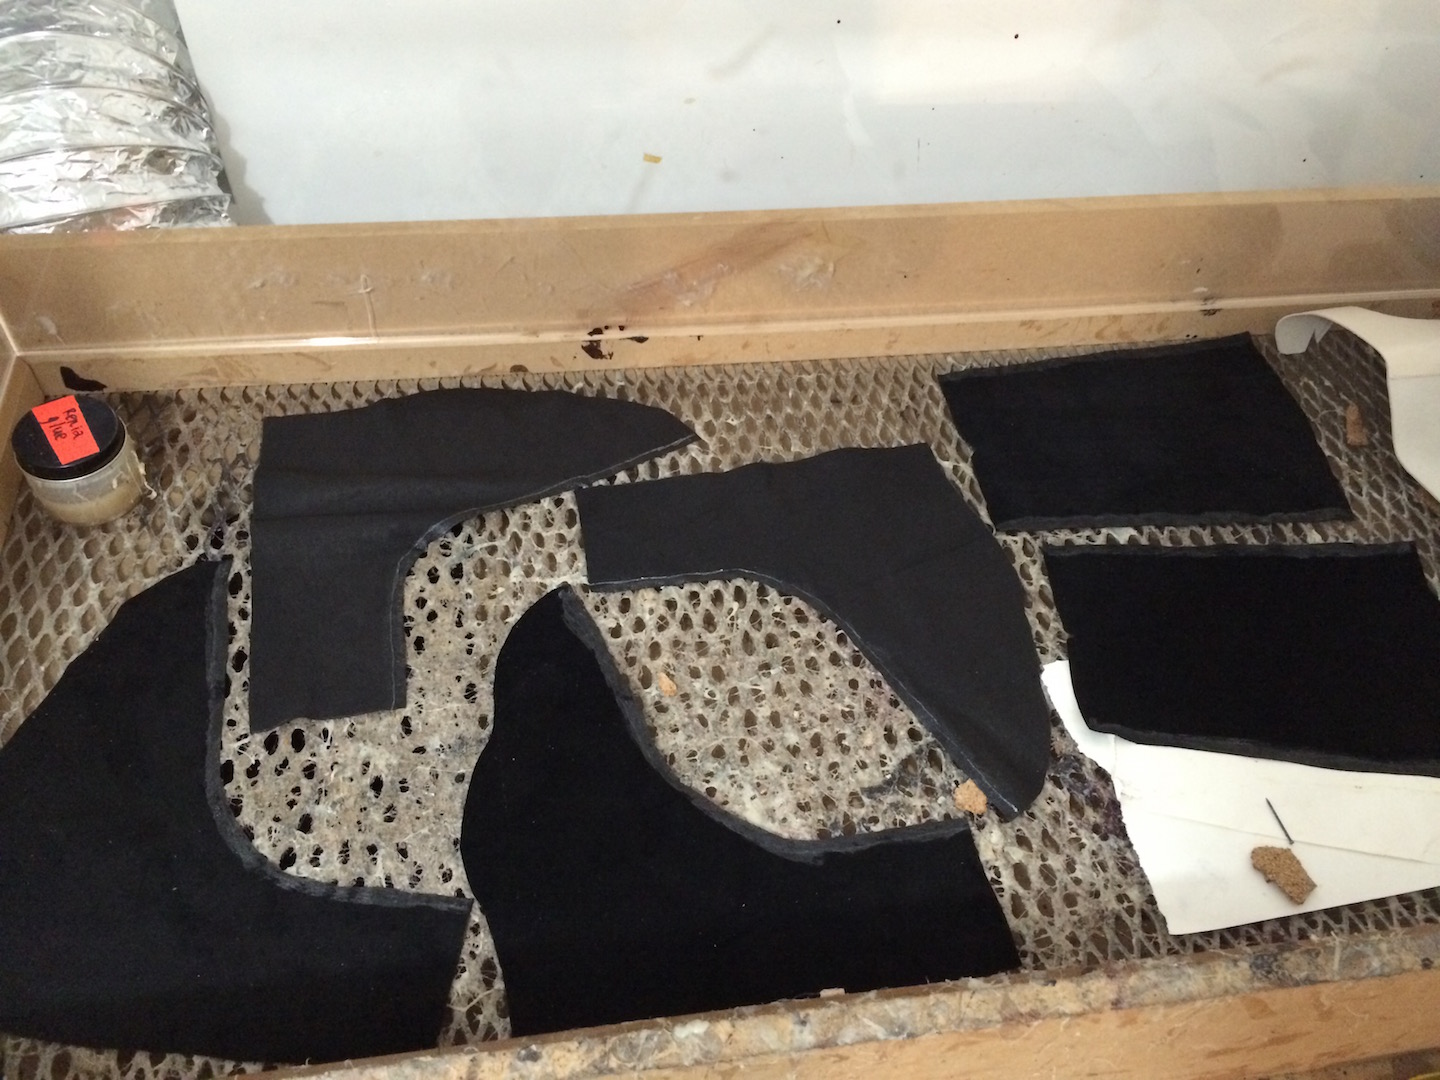
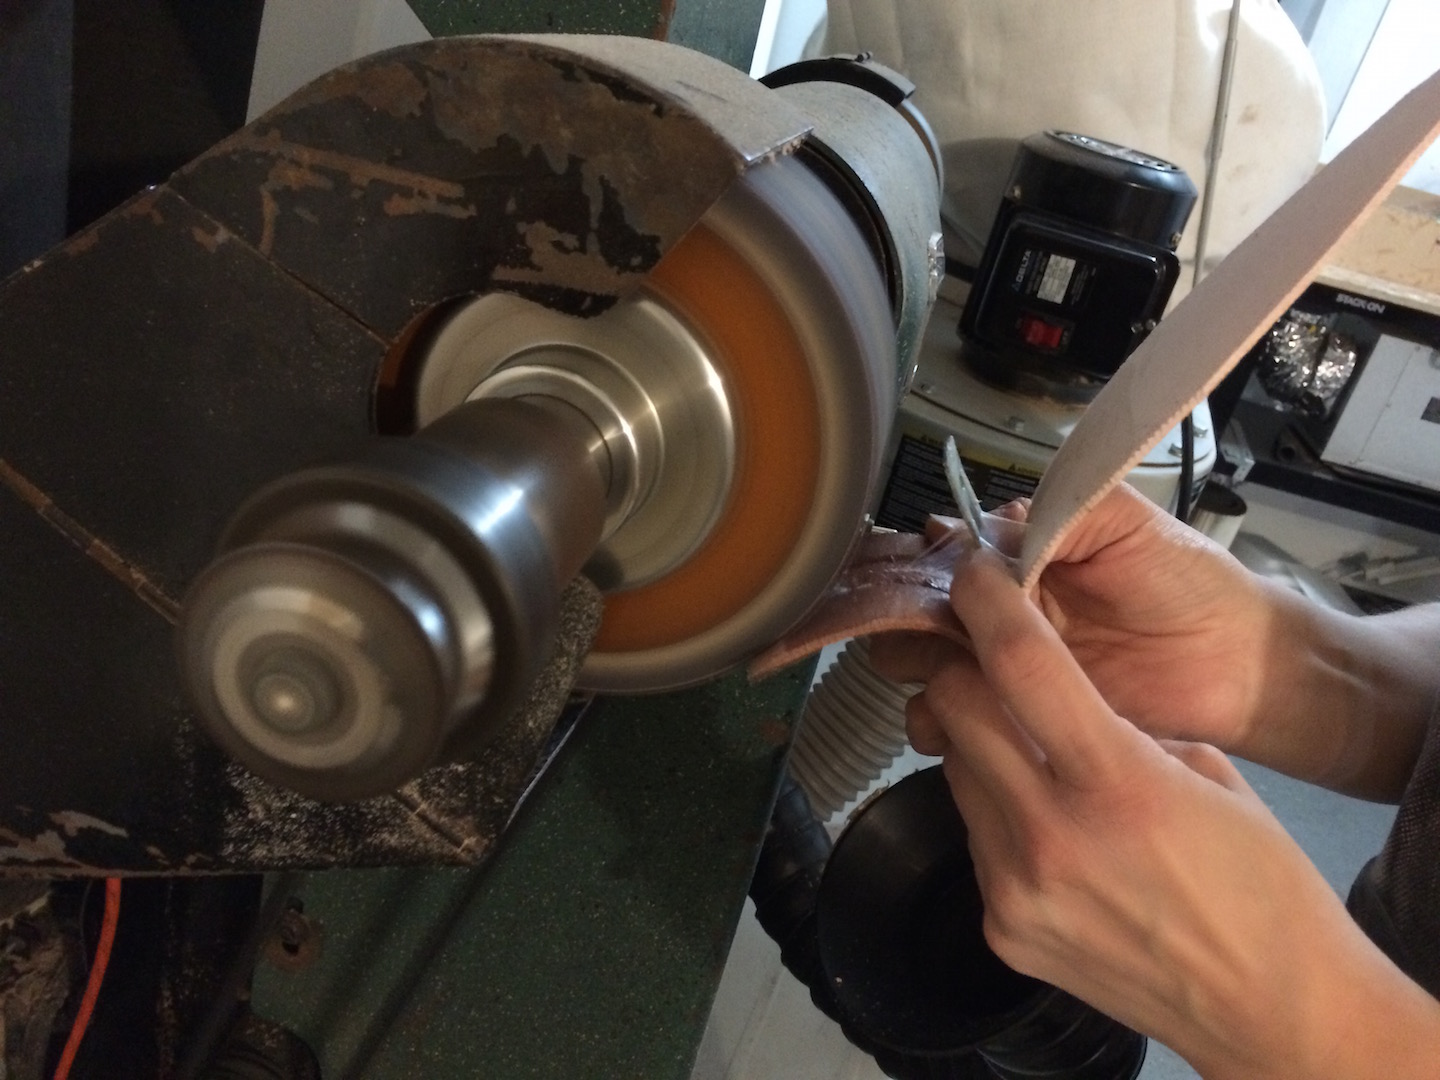
    4. On to lasercutting. First I did a raster etch of the sew lines and then a vector cut of the lines. I left a tab at each corner so that the pieces would be a little bit easier to handle as they were being assembled.

    4_lasercutting 4_lasercutting_detail
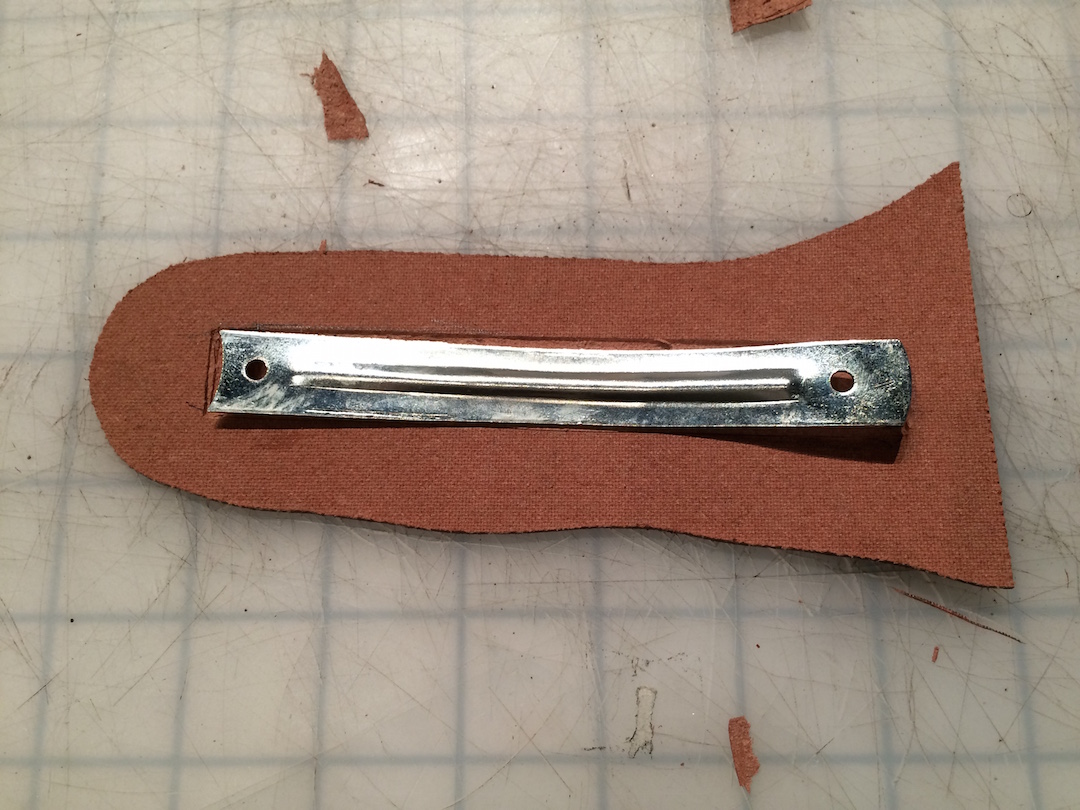
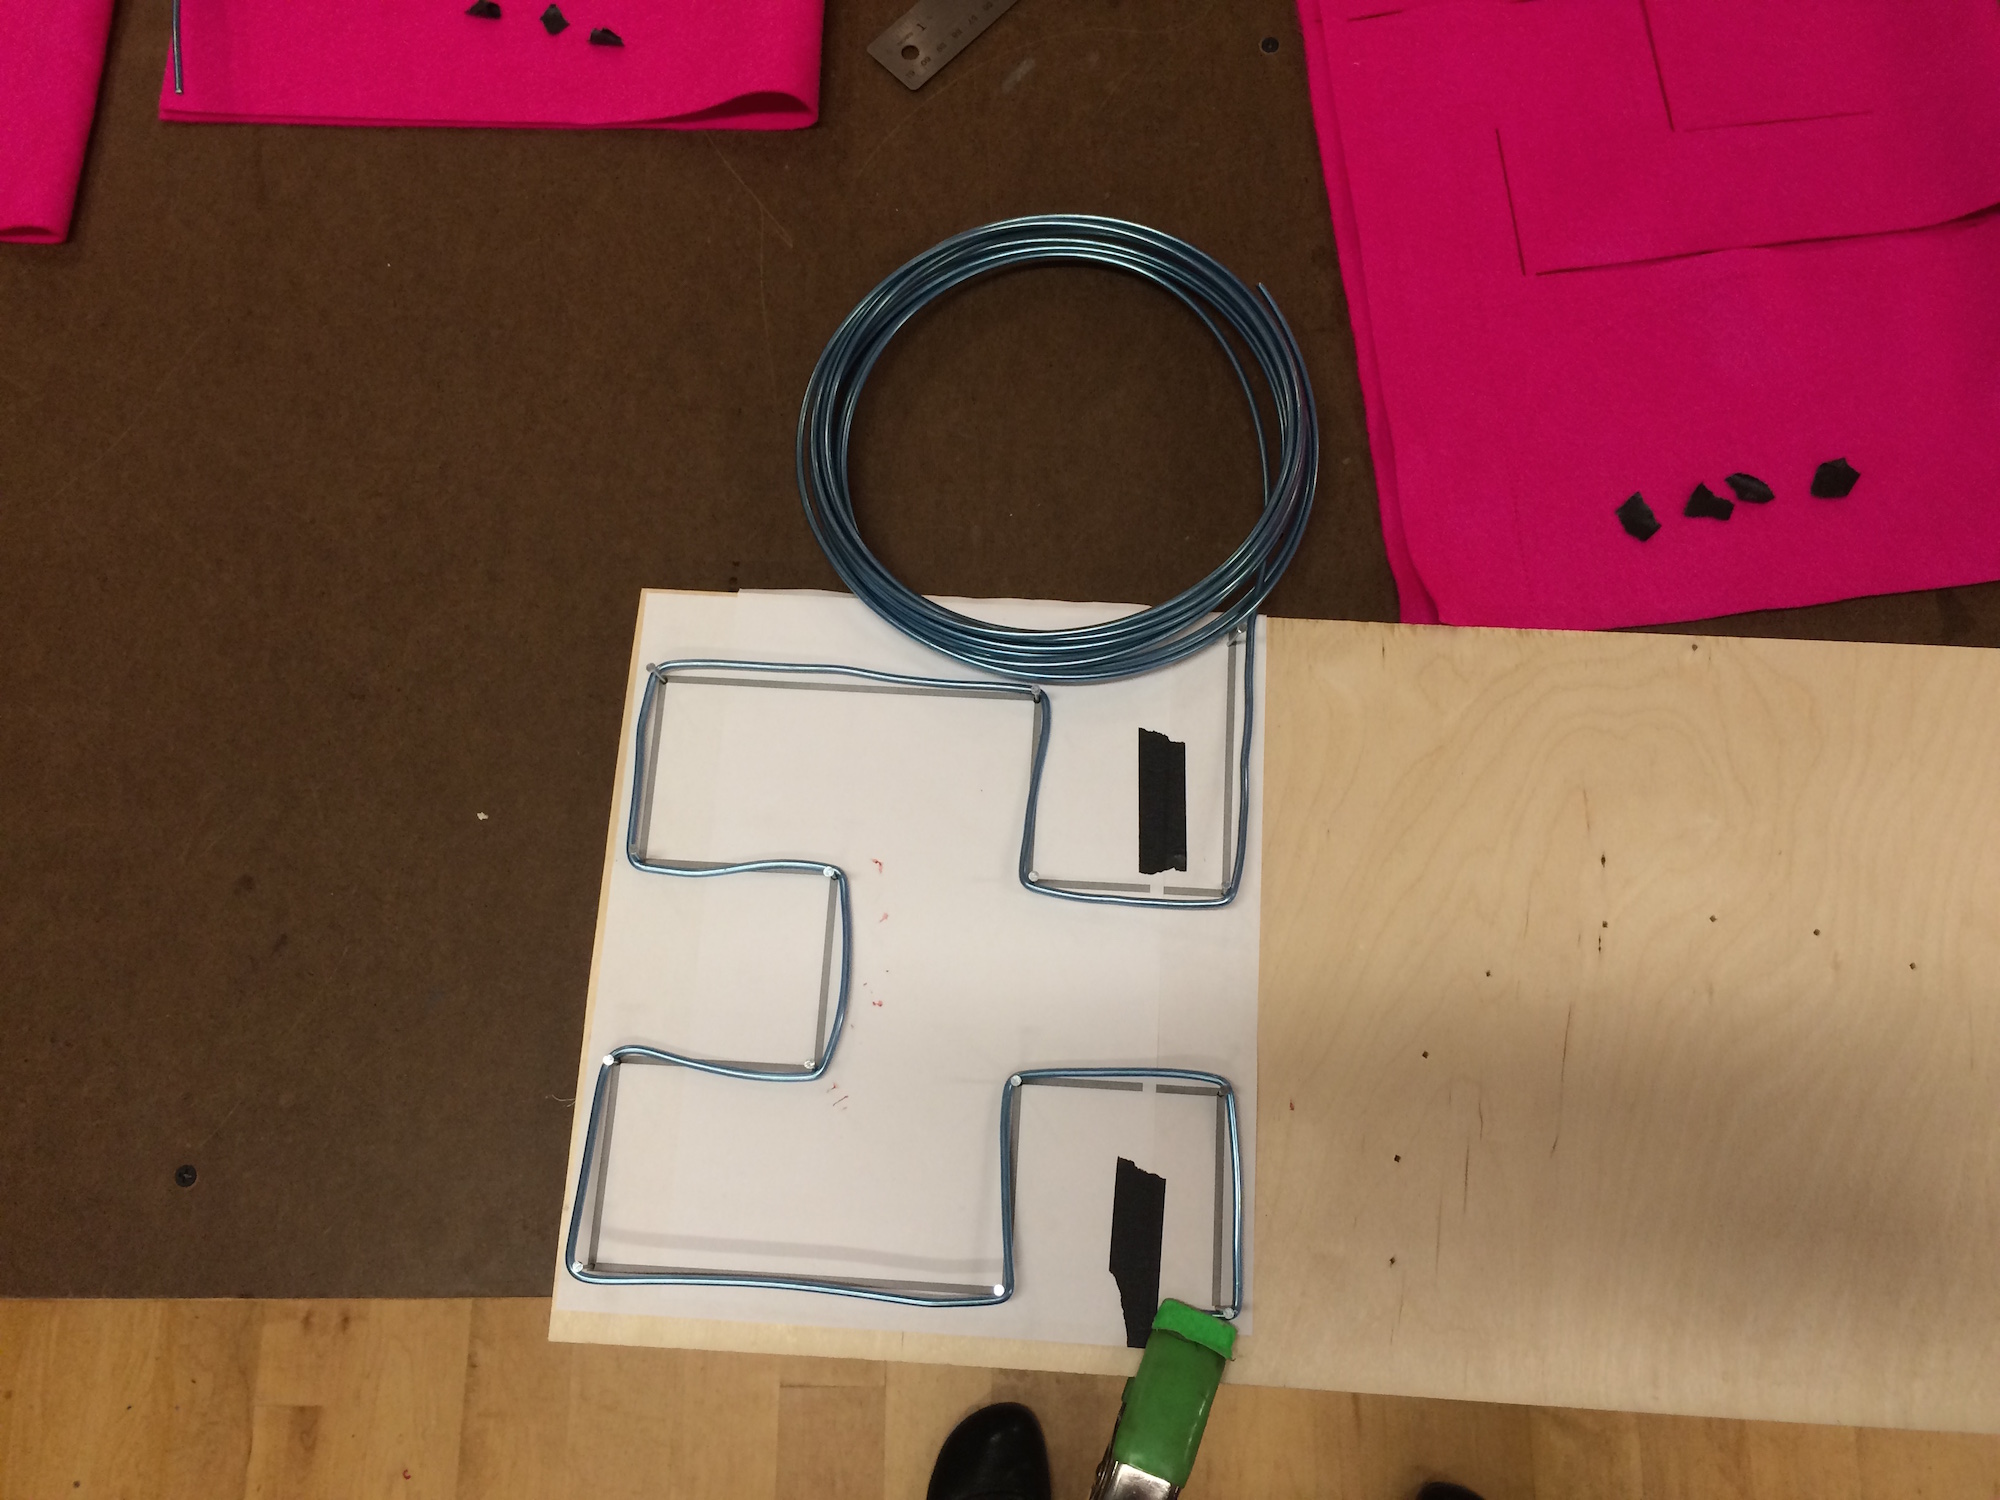
    5. I created a jig using nails and some wood to use for bending the armature wire. This was a great use of the jig because even though the shape rotates in my designs it is always the same shape. So I just needed to be careful about where I started in the curve. Once the Hilbert curve was bent I then competed the rest of the hat by hand using some pliers.

    5_wirebending 5_wirebending_all

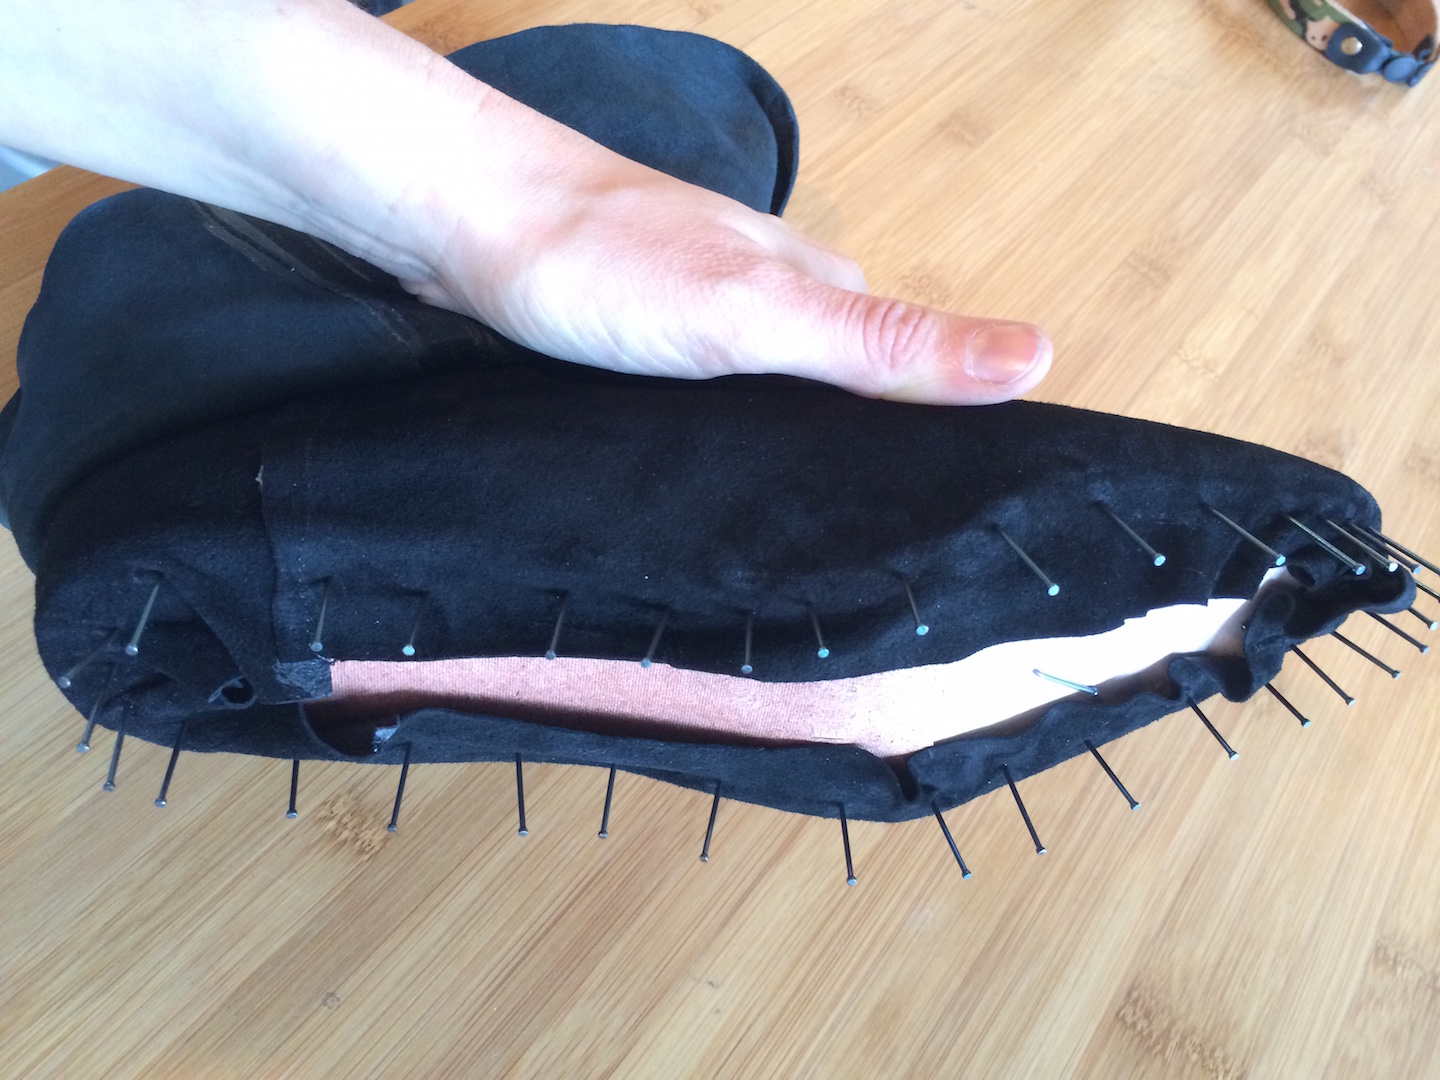
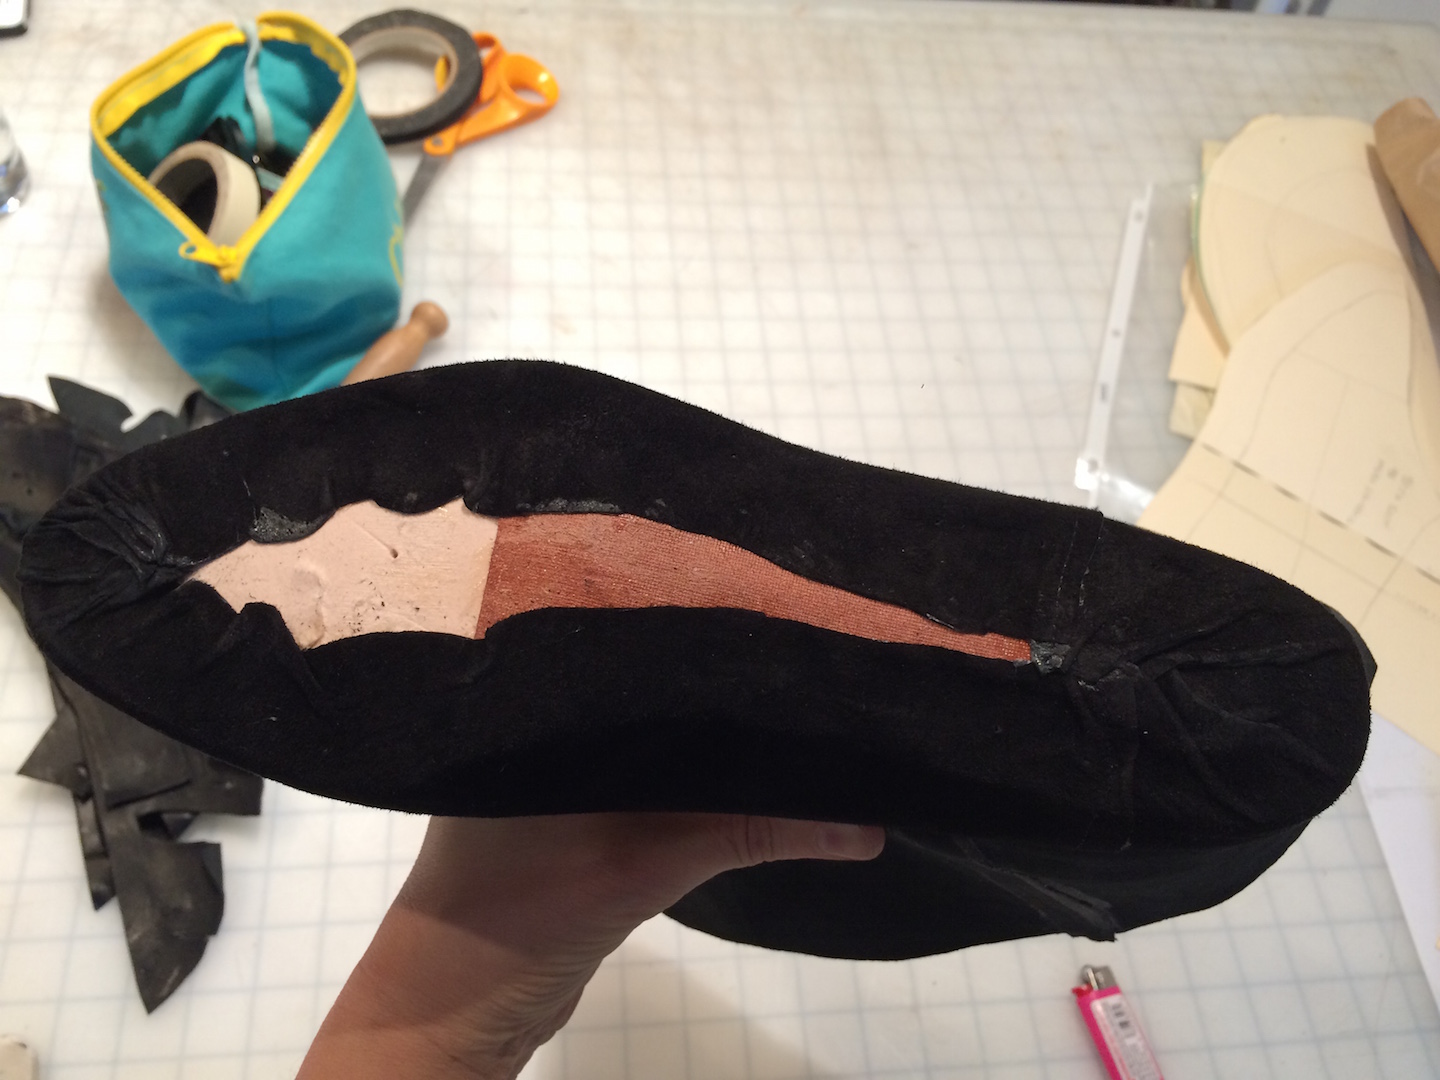
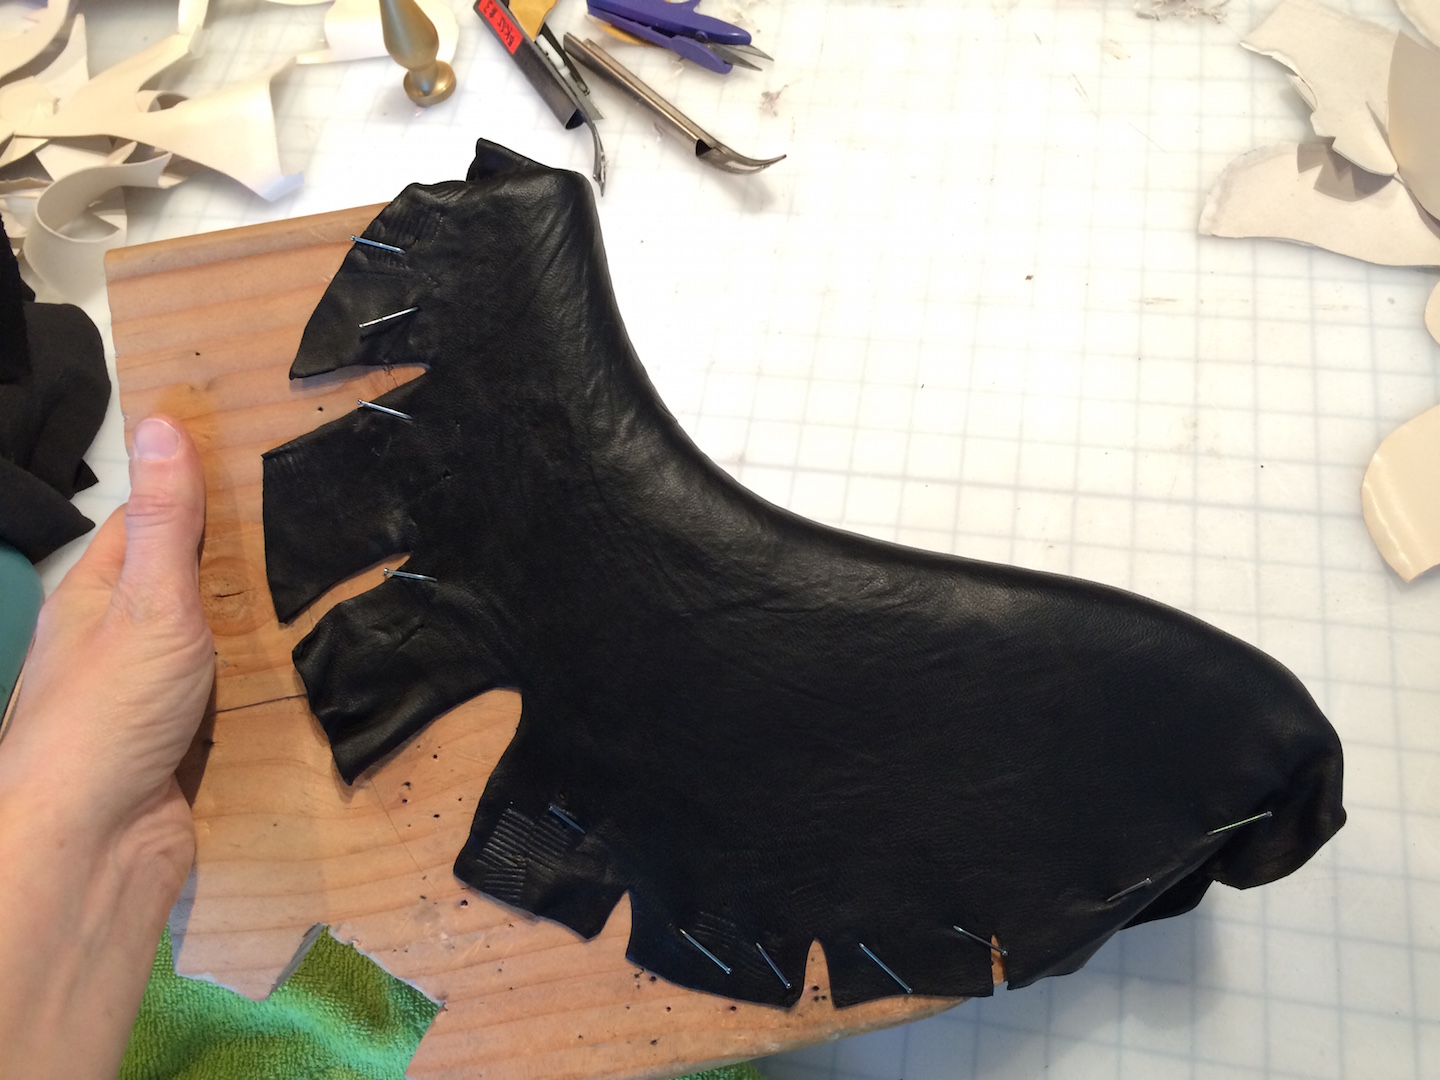
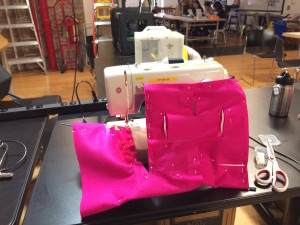
    6. I inserted the wireforms into the felt and pinned them shut. This is really important because otherwise the wire will shift all over the place during sewing.

    6_pin_detail


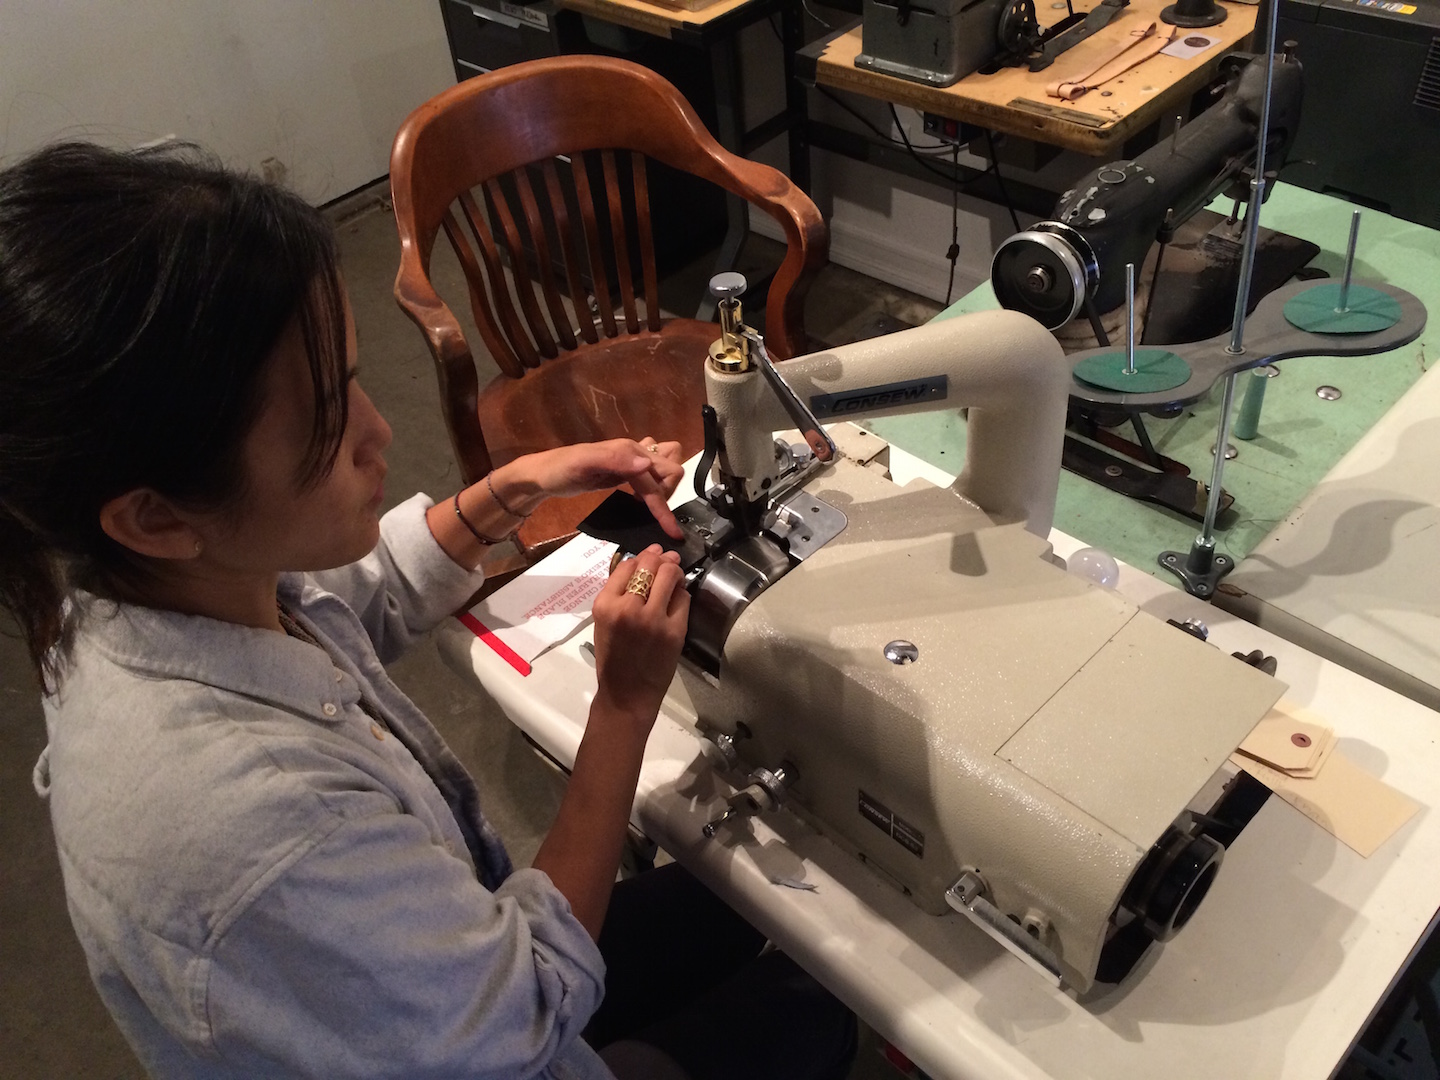
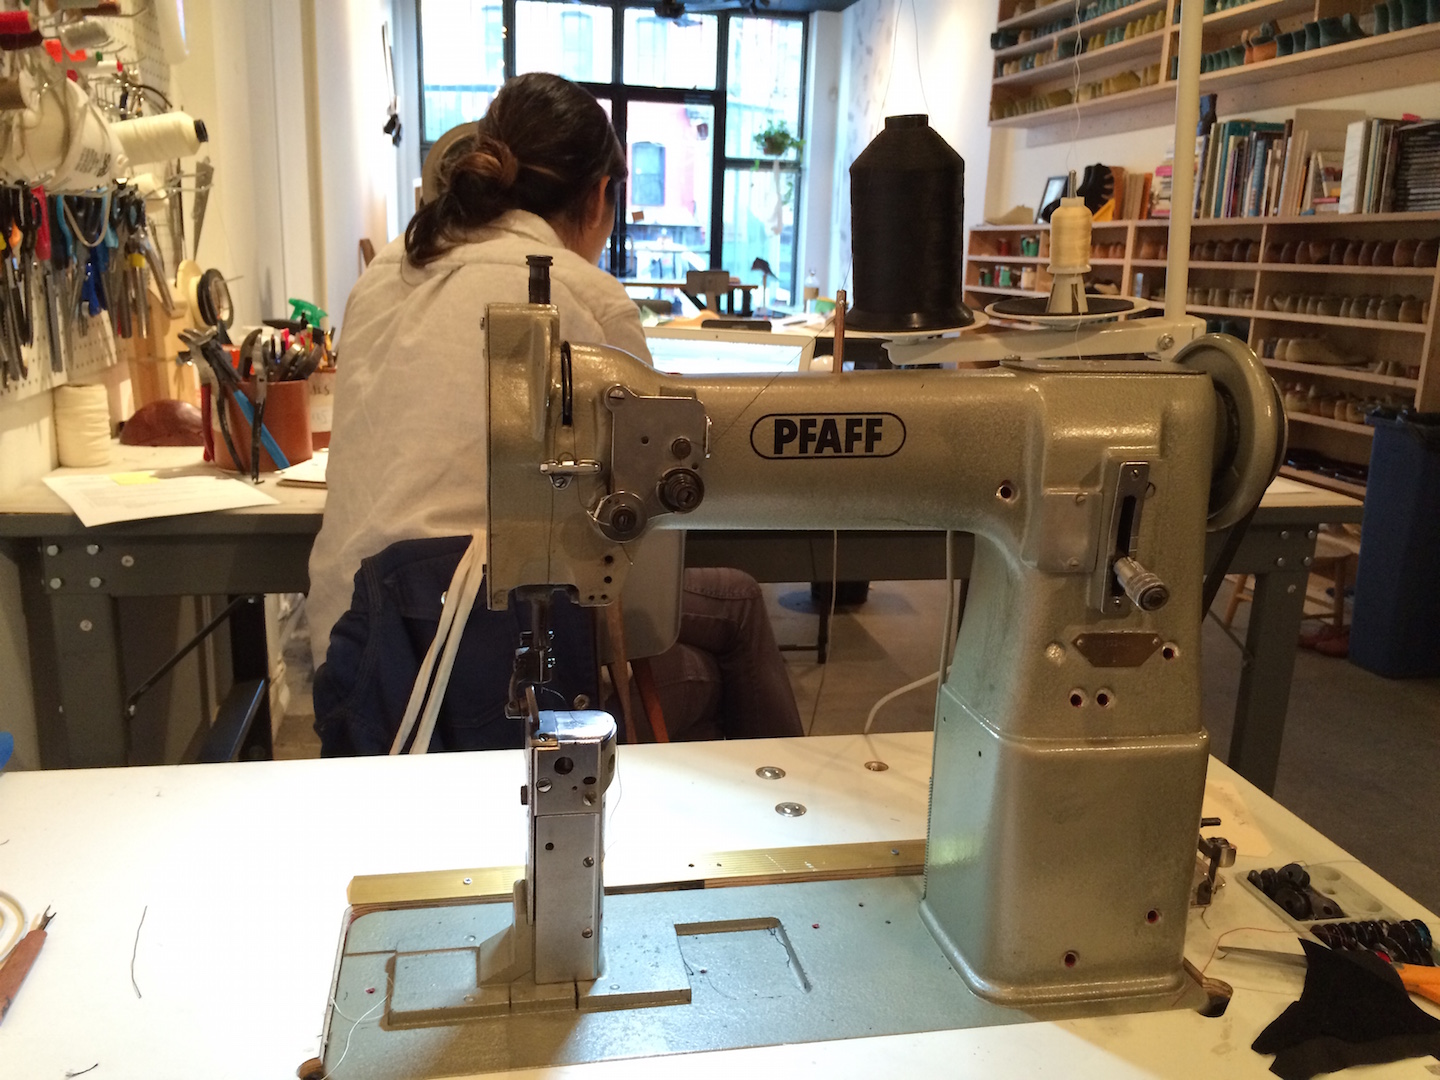
    7. Sewing! Usually I add the wire after sewing so it was a bit challenging learning how to maneuver with the wire in. But it mostly worked. In some cases in made sense to snip the tabs that were holding it into a rectangular form.

    7_sewing_bent 7_sewing_finished_detail

    And that’s pretty much it! It’s neat to see the variations and how they affect the shape and personality of the hats. In the next version I might need to make some more tweaks to improve the structural integrity. Also because I rushed the designs the head parts of the hats are a bit too shallow so I’ll fix that as well.


  • Vega Edge now available on Kickstarter!

    I’m really excited to make this announcement! We just clicked the “Launch” button on a shiny new Kickstarter campaign for the Vega Edge:

    Vega Edge

    Angella Mackey and I have been scheming together about wearable electronics since we first started the Toronto Wearables Meetup together in February 2010. Since then Angella launched a fashion line (Vega) and I launched a lab (the Social Body Lab). In 2012 a research grant brought us back together (thanks Ontario!) and in the spring of 2013 we popped out a new prototype: the Vega Edge. Since then we’ve been dreaming, planning, and crunching numbers on how we could share the Edge with the world.

    Enter Kickstarter! This campaign gives both you and us a chance to try this product on for size, to see how it behaves in real life, and to see whether and how we can make even more of them.

    The Kickstarter page tells everything you need to know about the Edge and how it works. But beyond the details of the product itself, it’s worth knowing what it means to each of us personally. In our own ways we each believe that technology can be beautiful and that it’s important to achieve balance in the way that technology lives in our everyday lives. And the Edge is a little piece of that.

    The campaign is now live and we’d love your help spreading the word. We’ve considered the numbers and have set the goal such that we will only produce 500 or more units. We know that’s a lot but we believe in it and want to run a considered, responsible campaign so we’re just going to try our darnedest and hope we hit the mark. Feel free to share the link below, tweet, Facebook, or shout it to the hills. Every little bit helps.

    Here’s the link to the campaign:
    http://edge.vegalite.com

    Thanks in advance for your support!

  • The Innovator’s Guide to Toronto & New York

    Researched and written by my awesome Digital Futures students at OCAD University, the Innovator’s Guide is a creative nerd’s handbook to Toronto and New York, researched and written by the Digital Futures students at OCAD University. It’s a kind of Lonely Planet travel guide or a user’s manual for these cities, but for people who like to create and make and experiment with new media. It is meant for hackers, makers, researchers, artists, educators, and startup-ers. For each city, the book will contain around 10-15 longer feature articles and 30-40 shorter profiles of maker spaces, studios, coops, resource centres, and other cool things to do that people like us should know about.

    With an expected release in May 2014, the Guide will be a cool pocket-sized book (6″ x 9″), perfect bound with a colour cover, a black and white interior, and a page count of between 70 and 100 pages.

    To pre-order a copy and support the development process, check out the Indiegogo campaign. Campaign end February 21st.

  • Hello CBC

    I had two recent, lovely encounters with the CBC:

    An interview with former ITP Camper Dan Misener
    an interview with Nora Young at Spark

    Some words from CBC:
    SPARK | Mar 1, 2013 | 13:12
    Wearable Computing
    Google Glass is just the latest example of “wearable computing”, a concept that’s been around for quite a while but hasn’t exactly caught on. With big players like Google and Apple getting in on it now, will wearable computing finally make it to the mainstream? Nora heads to the Social Body Lab at OCAD University in Toronto to speak with artist and technologist Kate Hartman about the future of wearable computing.